Showing posts with label bag making. Show all posts

Friday, 15 September 2023

Summer in Tekapo bag

Last week I showed you the sights of Tekapo.  This week I'll show you what we did at the retreat.  


I taught 14 ladies how to make my Summer in Tekapo tote bag.  We had a great time experimenting with wool felt, Perle 8 threads and ombre fabrics. Everyone's bags are going to look so different because they applied their own artistic flair to the design. 


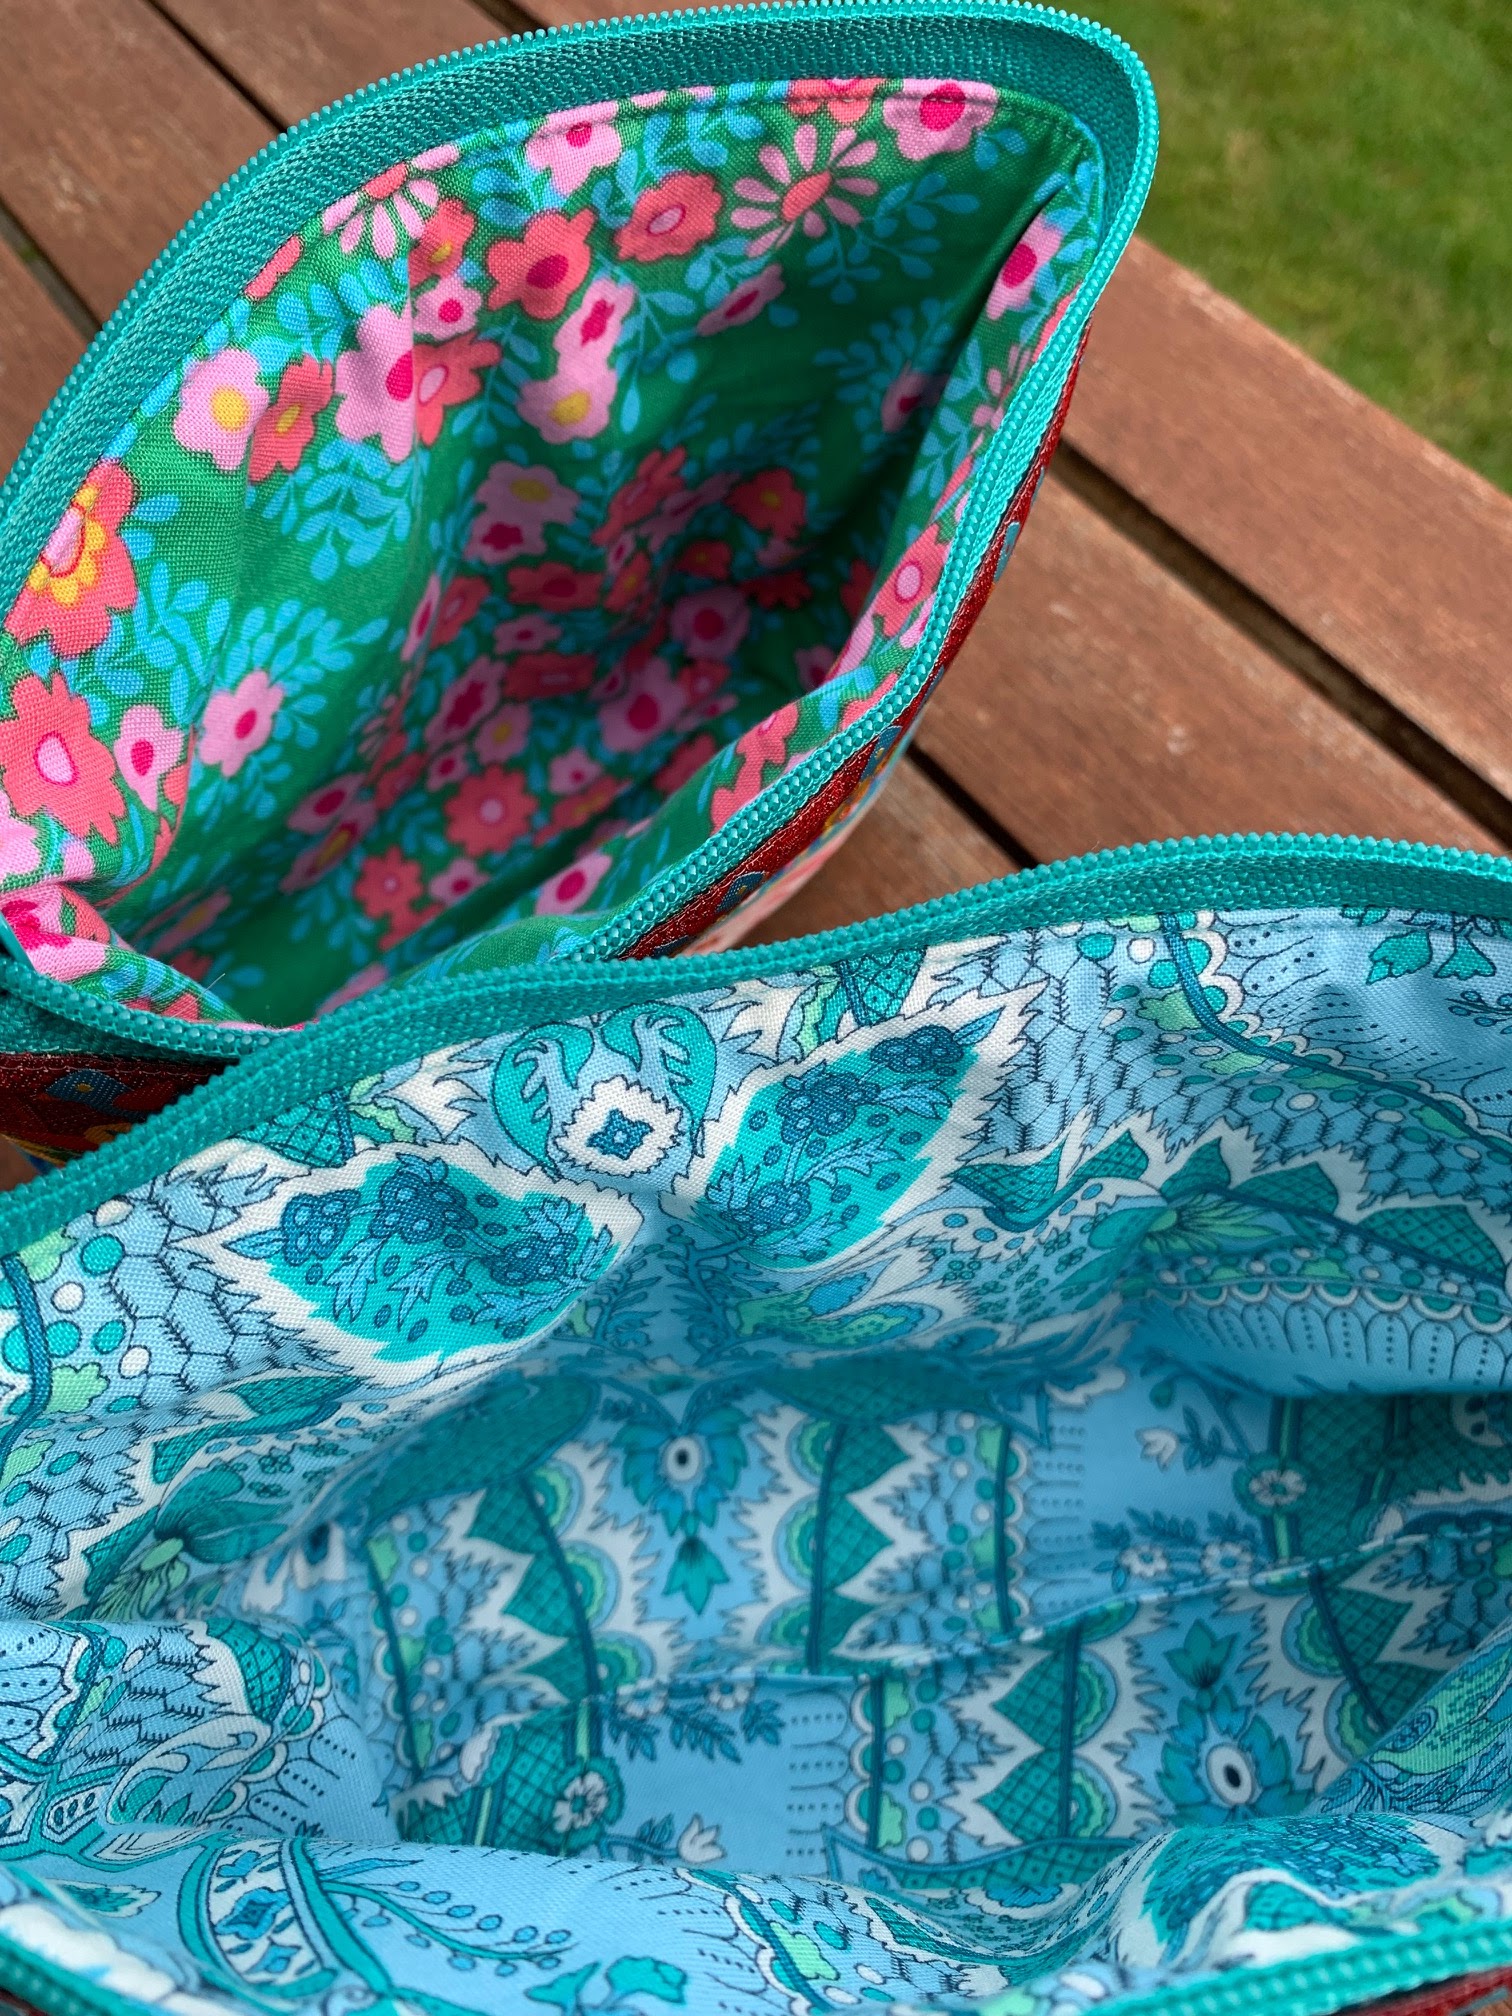
Tula Pink lining

It was a great weekend with good people and very good food.  And of course the scenery was gorgeous with all the snow on the mountains.  I definitely hope to return to Stitching in Tekapo again. 


Now it's time for the Peacock Party.  Feel free to link up a recent blog post below.


You are invited to the Inlinkz link party!

Click here to enter

Friday, 31 March 2023

Pinestream Quilters

Last night I was the guest speaker at Pinestream Quilters in Upper Hutt, Wellington.  

I've spoken to Pinestream Quilters previously, so I decided to take along some of my bags and tapestry cushions, as well as my most recently finished quilts of course. 


Everyone loved my Giraffe tapestry cushion designed by Kim McLean.  I thought that they were no longer available, but upon checking I see that they are back in stock at the Crewel Gobelin in Sydney here.  You can read more about my cushion and how I attached the tassels here. 


I also talked about bag making and showed some of the bags that I've made myself.  


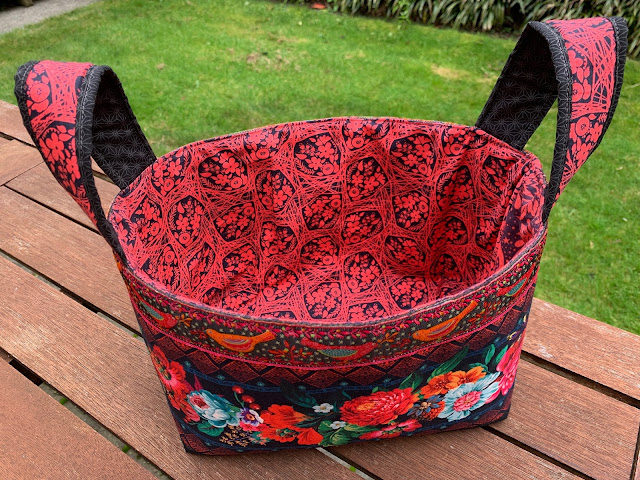
My modified One Hour Basket made with a Renaissance Ribbons velvet ribbon was very popular.  I've found the velvet ribbon in stock at Bower Bird near Hamilton.  Mel from Bower Bird has two new versions I haven't see before:


Both of them would make beautiful baskets.  I'm getting tempted myself! 


Someone asked about my Pandemic Sampler by Long Dog Samplers and I was horrified to realise this morning that it's been waiting for the back stitching for 11 months now!! I really must get onto that ASAP.  

Thank you Pinestream Quilters - it was a lovely evening spent with like minded quilters. 


Now it's time for the Peacock Party.  Feel free to link up a recent blog post below.  


You are invited to the Inlinkz link party!

Click here to enter


Friday, 13 January 2023

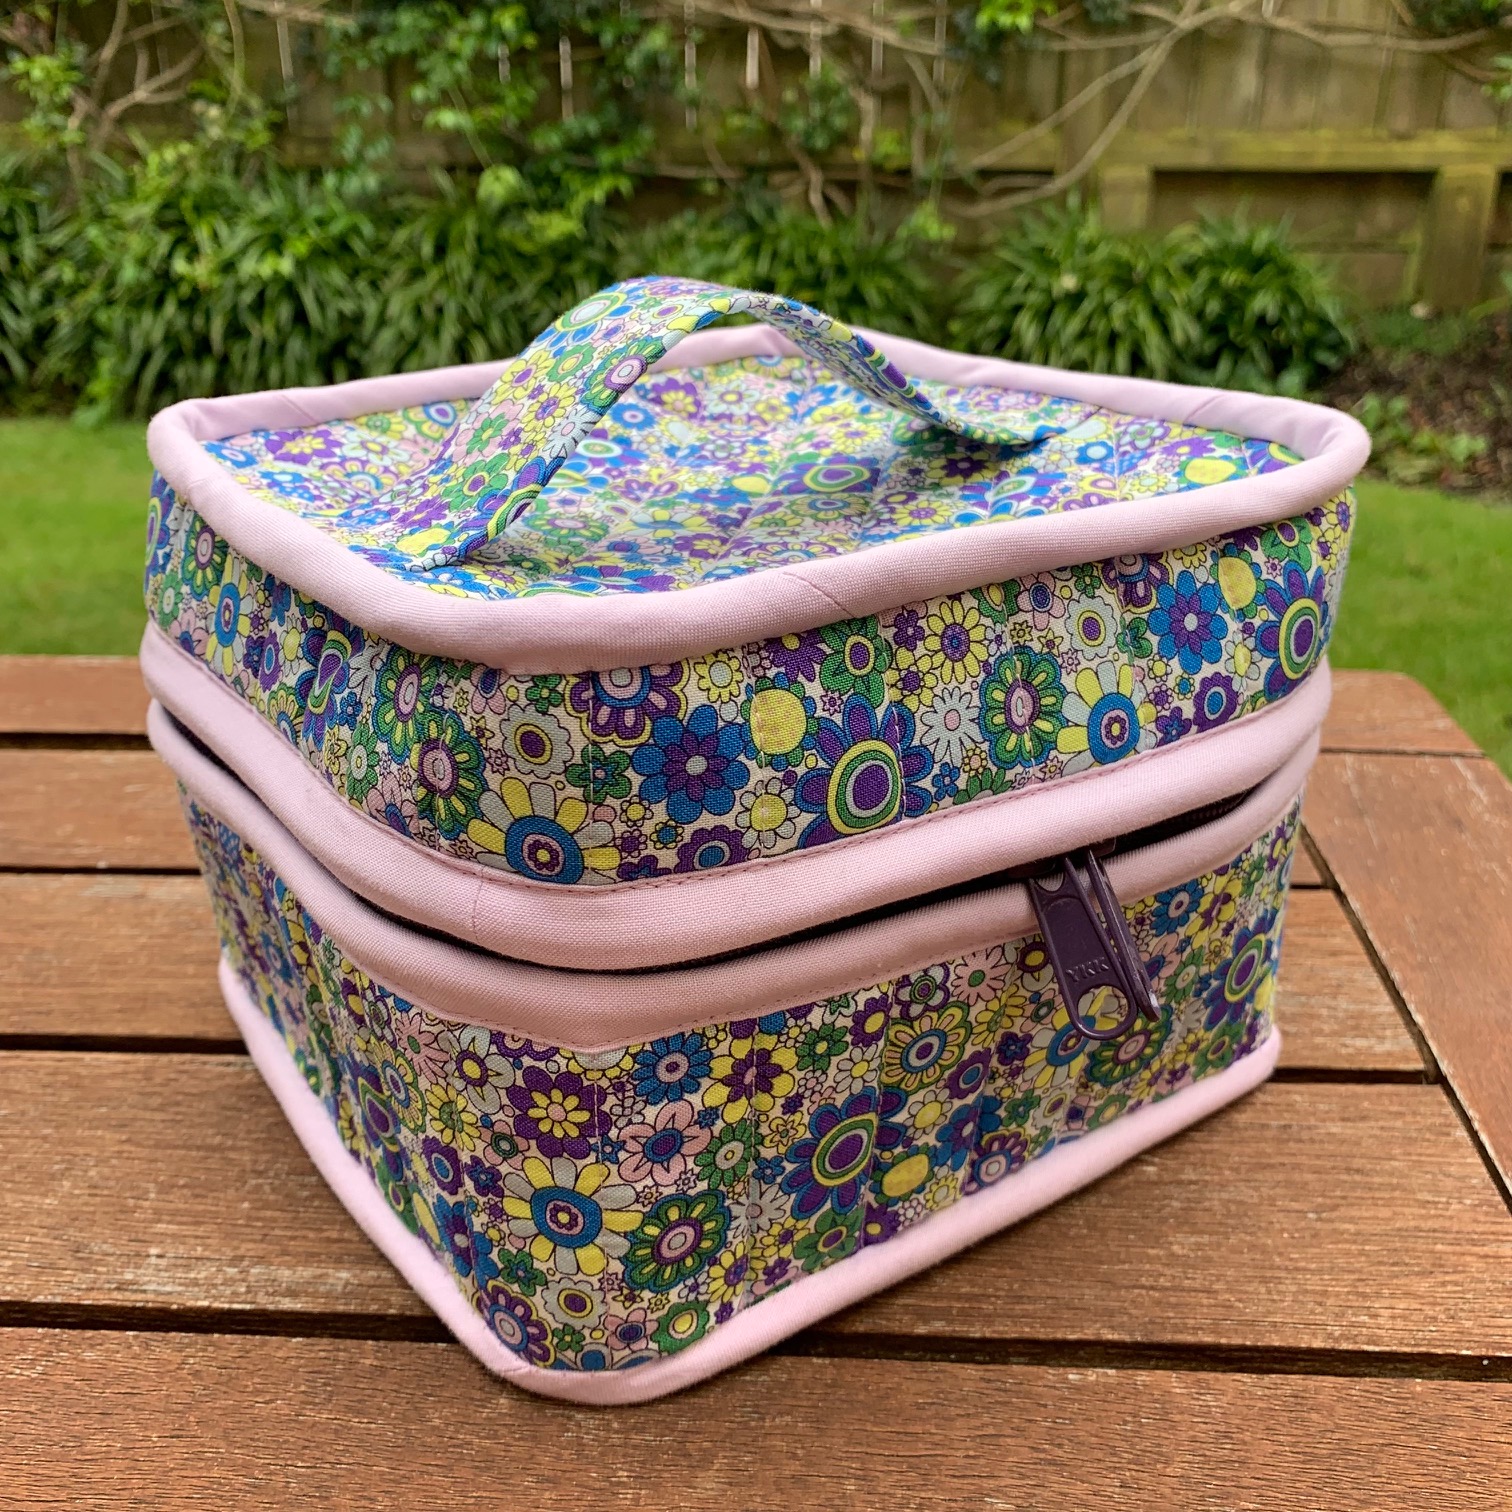
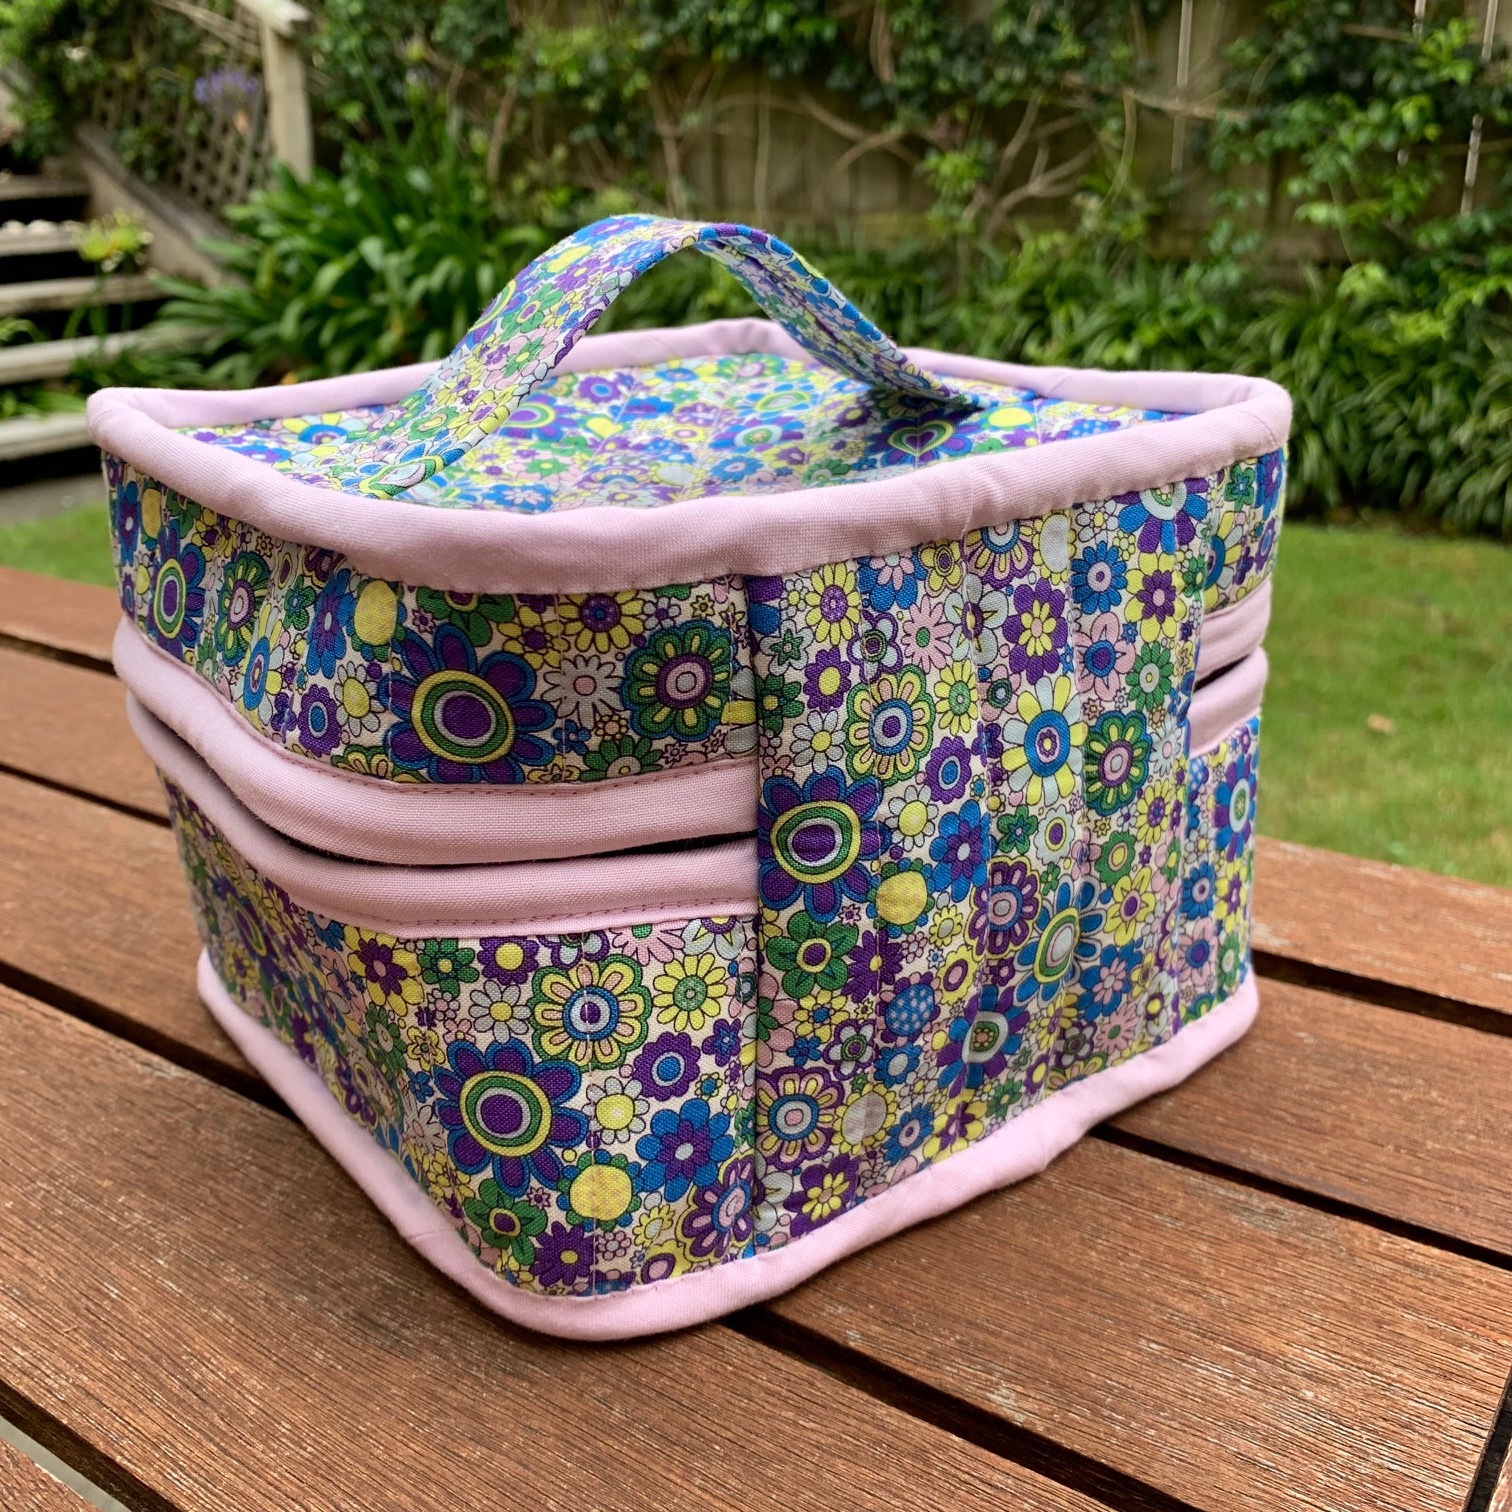
Train Case

My first finish of 2023.


Months ago I saw a beautiful Liberty train case for sale in a shop.  It was pretty pricey, so I decided to make my own version.  

Now I know why it was pricey - they are very fiddly! 

This one ended up bigger than my original plan, but the smaller you go, the more fiddly it gets.  


I ended up using Mink Kim's pattern from Sewing Illustration for Cutie Cube Bag, with quite a few modifications. Mine is sized somewhere between her big and small sizes.  Mine has the binding on the outside rather than the insides.  I used the Patterns by Annie method for binding my seams and zipper edges.  

So it's a hybrid, but it works fine for me and I'm very happy with it.  I won't be making another one in a hurry, and I don't need to, because just last week Shiseido gave me a free one in a gift with purchase deal.  Of course I prefer lavender to red, and the handle on top, but it will still be useful.  


The original Liberty bag that inspired me.  Yes, NZD100 at Ballantynes in Christchurch


https://sewingillustration.com/products/cutie-cube-bag


Now it's time for the Peacock Party.  Feel free to link up a recent blog post below.  


You are invited to the Inlinkz link party!

Friday, 24 June 2022

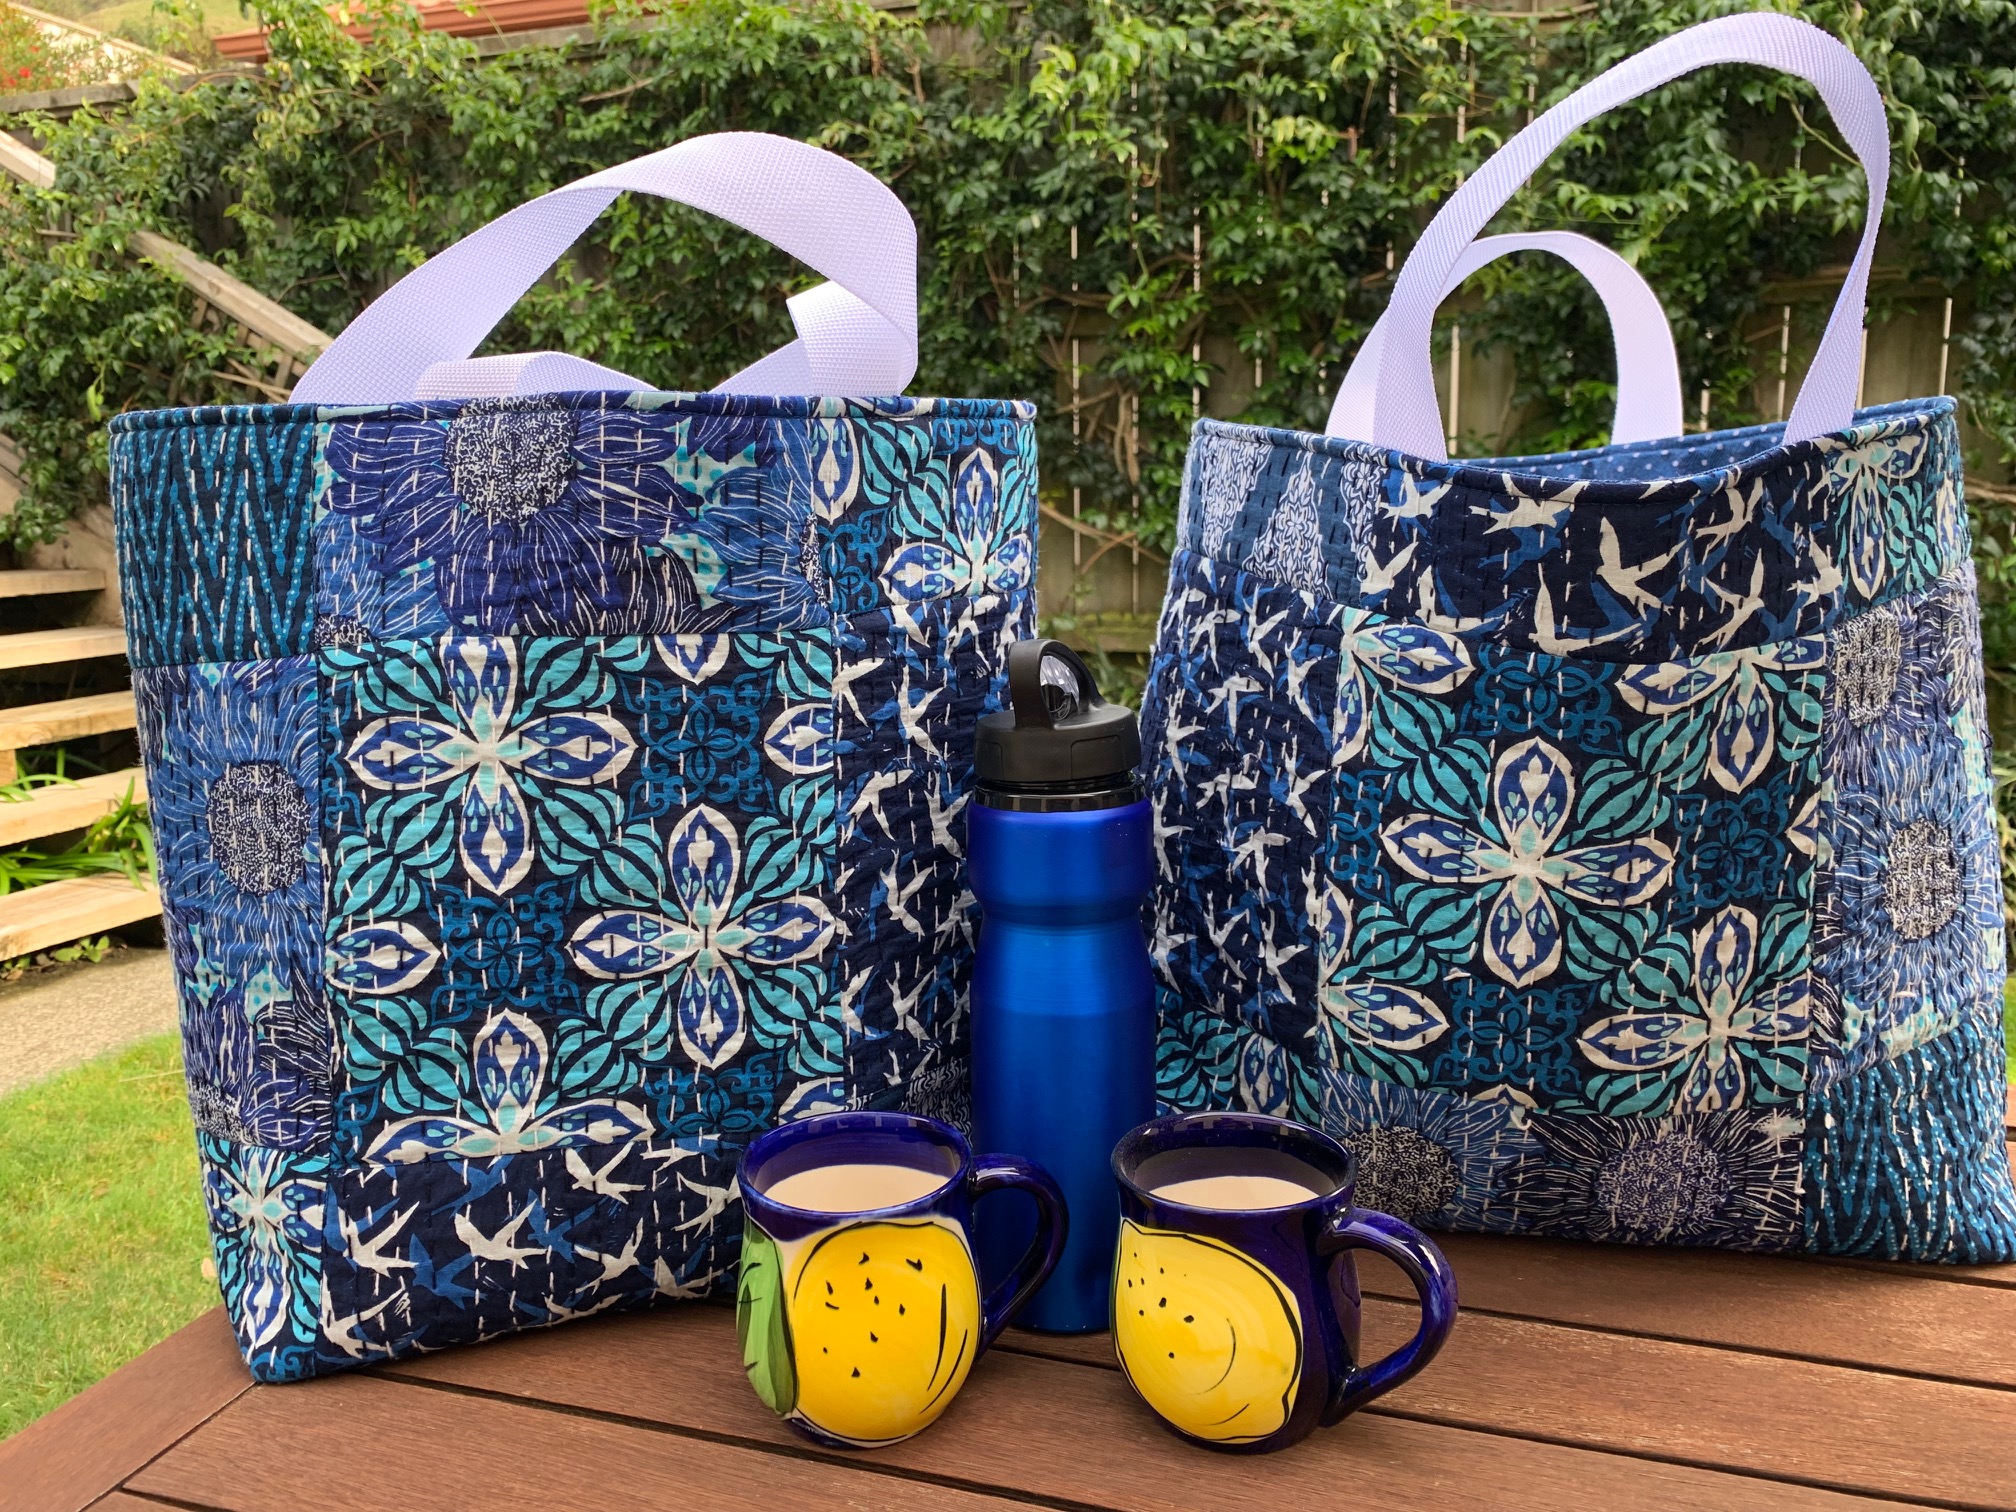
New Tote Bags made from Kantha Cloth

By the time you read this I'll be in Taupo at the Taupo Quiltmakers' "Quilting with the Stars" exhibition.  It's been a while since I've been to a quilt show, so I'm really looking forward to this one.  And I have the honour of being the guest exhibitor this time.  If you see me there please do say "hello".  


In the mean time, I've been busy making some new tote bags.  

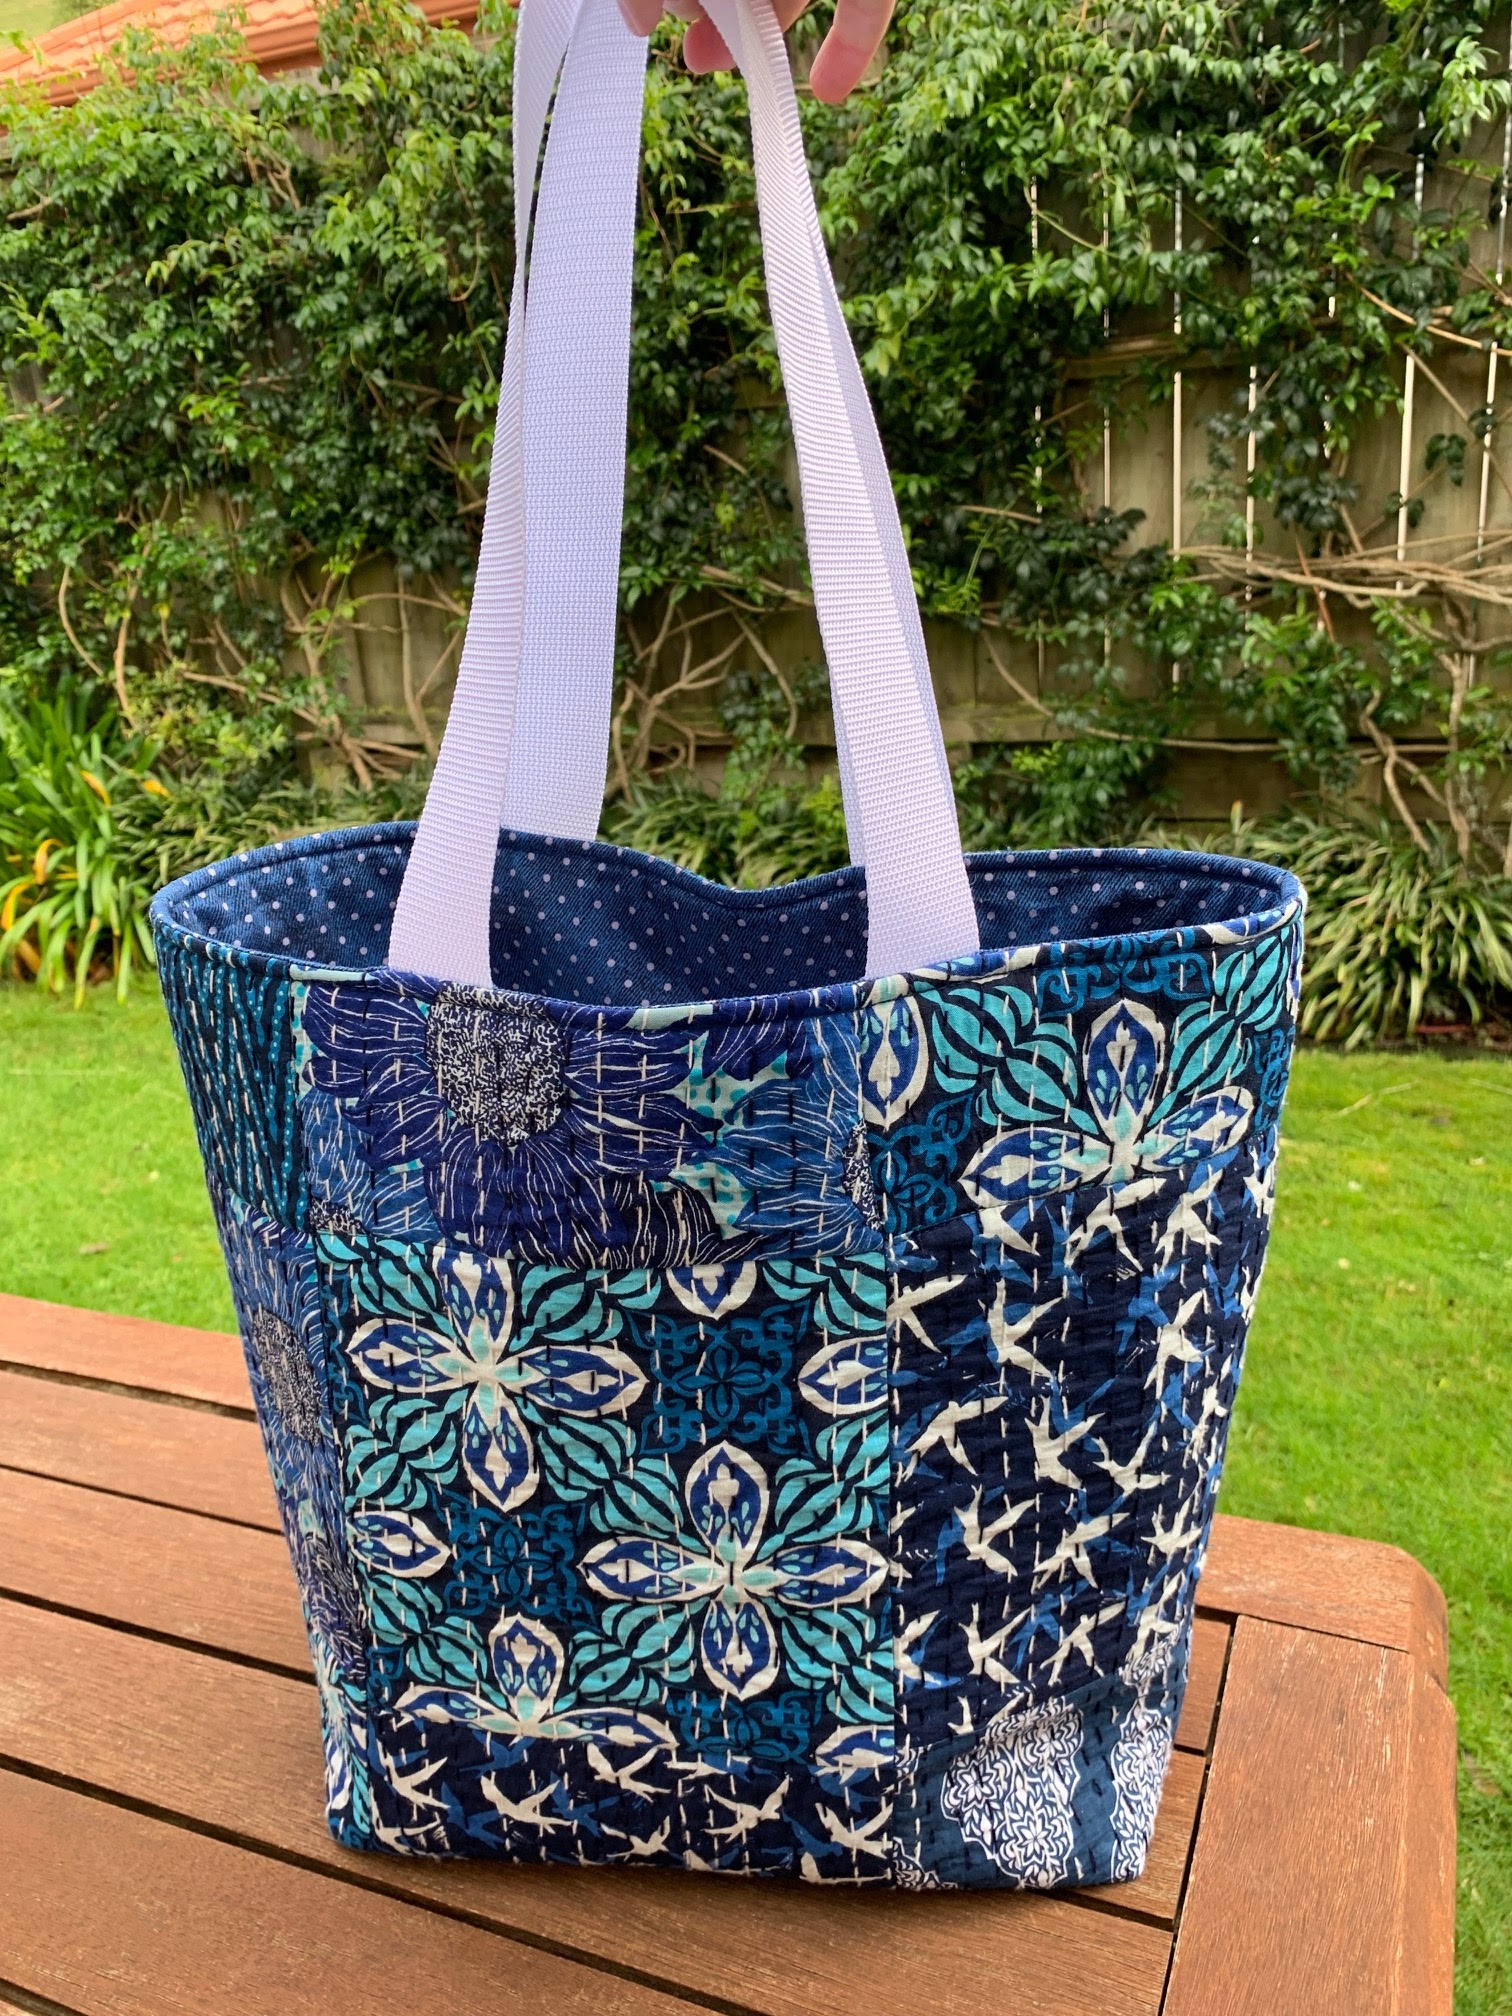
I saw this amazing Kantha cloth designed by Valori Wells at Stitchbird Fabrics in Wellington.  It's not the type of thing you'd cut up into small pieces, so I kept it big and made two large tote bags out of 1 metre.  

I modified and merged two Tote Bag patterns to get the bags the sizes I wanted.  


The second bag isn't as wide, but it is slightly taller.

I originally wanted the stitching on the Kantha cloth to show on the inside too, but that meant I couldn't use Soft and Stable.  And I would have had to bind the seams to give the bag a tidy finish.  I didn't want to do that, so I found some blue fabric that complemented the exterior nicely. And my bags stand up by themselves because they've got Soft and Stable in them.  


Valori Well's Kantha cloth comes in two colour ways - the Indigo that I used, and also Pomegranate. I'm very tempted to go back for some Pomegranate.  


It looks so good.  I love this Kantha cloth and I love my new bags.  


Now it's time for the Peacock Party.  What have you been up to this week? Feel free to link up a recent blog post below:


You are invited to the Inlinkz link party!

Click here to enter

Friday, 17 June 2022

One Hour Basket with Renaissance Ribbons

As promised last week, I'm back to explain how I used my second Renaissance Ribbons velvet ribbon. 


I learnt from the bags I made last week, and decided to try a different way to get the most out of my black and red velvet ribbon from Stitch Witches.  

I pulled out my One Hour Basket pattern from many years ago, and made a few changes to it to ensure that I showed off my velvet ribbon to maximum effect.  (The One Hour Basket pattern used to be free, but now it's for sale on Etsy.)


I cut my Soft and Stable slightly deeper than the original pattern because I knew I wanted to see ALL of the velvet ribbon on the side of the basket. I put a strip of black quilting cotton at the base of the Soft and Stable so my velvet ribbon wasn't on the base of the basket..  

I wanted the 1.5" bird ribbon to be at the top of my basket, but I needed to allow a seam allowance at the top, so I sewed another piece of quilting cotton to the top of the Soft and Stable.  

I used a 70 needle and monofilament when I attached the bird ribbon to the Soft and Stable.


So I mucked around for 3.5 hours making a one hour basket.  But good things take time, and I'm very happy with this basket.  I think it show the velvet ribbon beautifully, and I only had 7" of ribbon left over.  I might even find a use for that yet.  

So here's my little family of bags made from Renaissance Ribbons velvet ribbons.  The bags from last week fit perfectly inside the One Hour Basket to demonstrate the relative sizes.  


Now it's time for the Peacock Party.  Feel free to link up a recent blog post below.


You are invited to the Inlinkz link party!

Click here to enter

Friday, 10 June 2022

Renaissance Ribbons Bags

I tried something new this week and made these cute bags with Renaissance Ribbons velvet ribbons.  The lower part of these bags is covered in velvet ribbons - the big flowers on the blue background.


I had seen photos of the velvet ribbons on social media, but when I saw them in person at Stitch Witches in Dunedin I was quite surprised at how luxurious they were.  They colours are very deep and rich, and of course the velvet feels beautiful to touch.  


I couldn't decide which ribbon to buy, so I bought two.  I decided to work with the blue one first, and made two pouches from the accompanying Renaissance Ribbons Bags ByAnnie pattern.  Annie has carefully worked out how to get two pouches out of the 1 metre length of velvet ribbon in each pack.  


I purchased the optional add on video from the ByAnnie website and it was very helpful.  I've made other ByAnnie bags without the videos, but I just couldn't face reading every step of the instructions six times and I thought that the video would make it easier.  It sure did! I just paused the video as I completed each step and happily sewed along with Annie.  


I'm pleased with my bags, but feel that the small one really is quite small.  It doesn't open all the way to the end because the zip end is tucked in. AND, I was disappointed to lose so much of the velvet ribbon across the base of the bigger bag.  I wish I had realised that was going to happen because I would have cut the Soft and Stable bigger, and put quilting fabric across the unseen bottom of the bag. 


So, I decided to change things up with my other ribbon and considered making two bags of equal size.  But then I had another bright idea.......

You'll have to wait until next week to find out about my other idea. 

Now it's time for the Peacock Party.  Feel free to link up a recent blog post below.  


You are invited to the Inlinkz link party!

Click here to enter

Friday, 1 January 2021

Happy New Year

It's the 1st of January here in New Zealand, so Happy New Year everyone. 

I certainly hope that 2021 is going to be kinder to us all than 2020 was! We won't forget that year in a hurry.  

Here's my first finish of 2021.  Can you guess what it's for?


It's a pouch for my son's new Xbox Series S.  The Series S is a very small, portable Xbox, so my son requested a pouch for it.


He chose the fabrics from my stash - black and white for the outside, a tone on tone black for the interior, and "Xbox green" for the trim.  


The exterior fabric was easy to machine quilt because of the lines on the fabric.

I used the skills I've learnt making bags byAnnie to custom design this bag for the Xbox, and I'm pretty pleased with how it's turned out.  Because it's a small pouch with tight corners, I used two layers of batting rather than Soft and Stable.


I hope you have a happy New Years Day, although I know many parts of the world are going back into lockdown again.  Feel free to link up a recent blog post in the Peacock Party below. 


You are invited to the Inlinkz link party!

Click here to enter

Friday, 28 August 2020

Octopus Tote

How cool is my new tote?


I just had to make a bag from the wonderful new Octopus fabric designed by Brandon Mably for Kaffe Fassett Collective.  

I wanted the lining to be from Kaffe Fassett fabrics too, and I was considering using the two fat quarters of black and white Onion Rings that I've got in my stash.  But I've got other plans for them, so I bought Good Vibrations in black in white (on the left above).  But then I thought it might be hard to find "stuff" in the bottom of the bag, so I checked my stash again, and found Labels and Creased in black and white.  

I chose Labels (centre), and I think it works well with the Octopus on the exterior.  


I used a very simple pattern for this bag and make it all in one day.  I love byAnnie's patterns, but I didn't need fancy zips and things on a simple tote.  Instead I modified this tutorial by my friend Adrianne. 

http://www.onthewindyside.co.nz/2014/09/tote-bag-tutorial.html

I still used Annie's Soft and Stable in my bag, because who wants a tote that flops over when you put it down?

So now I have a great tote bag to take when I go out.  I'm really happy with it.


Now it's time for the Peacock Party.  What have you been up to this week?  Feel free to link up a recent blog post below. 


You are invited to the Inlinkz link party!

Click here to enter