Friday 25 February 2022

Bollywood

I'm pleased to present "Bollywood" - another finished quilt from Millefiori Quilts 4 by Willyne Hammerstein. 


I love the vibrant colours in this quilt.  I started with a piece of the Legendary fabric by Pat Bravo as my inspiration fabric, and chose the other fabrics from that.  The hot pinks, the rich golds, and the sparkling teals.  I love them all together in this fabric.  


Bollywood is made from the Raindrops Are Falling on my Head pattern that is in Millefiori Quilts 4 by Willyne Hammerstein.  I chose to hand piece my quilt, but it can also be paper pieced.  I used templates made by Paper Pieces in USA, and fussy cut as many rosettes as I could. 


You can read my earlier posts about my Bollywood quilt here:

Just starting out - March 2021

Making progress - June 2021

I love hand quilting, but a quilt like this has a lot of seams, so I took it to my local long arm quilter - Rayna Clinton.  We developed a plan, and she quilted it beautifully on her long arm machine.  


I decided to use up all my scraps from this quilt on the back.  I now have a permanent record of what the Legendary fabric looked like before I fussy cut it to death.  


Bollywood isn't huge, but it was fun to make and allowed me to experiment with pattern and colour.  I'm making another version of this pattern with minor changes this time.  You can read about my Ruby Star quilt here, and I'll point out the differences in a future post.  

Finished size: 40" x 55"

Now it's time for the Peacock Party.  Feel free to link up a recent blog post below. 


You are invited to the Inlinkz link party!

Click here to enter

Friday 18 February 2022

Third Day of Christmas Tree

I've finished another Christmas decoration in my #12in22ornamentstitchalong .


This is the Third Day of Christmas by Liz Mathews.  I bought my pattern from Stitch Witches in Dunedin.  You can buy PDFs from Liz Mathews Etsy shop, but I like the printed colour version, so I  bought from Stitch Witches.  

I haven't stitched the first or second days of Christmas yet, because I like the third day the most, so I just started with the third day of Christmas.  

The polystyrene base that mine is sitting on isn't the real base yet, but it's all that I've got on hand at the moment.  I will mold some polystyrene to a better shape before Christmas, and then use a piece of wooden dowel to stand it on one of my wooden cotton reels. Similar to what's shown on the cover of the patterns.


I enjoyed stitching this tree and I'm looking forward to the next one already.  They are about 10" tall, so I'm not intending to do them all, but one would be lonely, and a pair might look strange.  We're told nature always presents things in odd numbers, so I think I need 3, or maybe 5?


Now it's time for the Peacock Party.  Feel free to link up a recent blog post below. 


You are invited to the Inlinkz link party!

Click here to enter

Friday 11 February 2022

Town & Country Quilters

On Wednesday I was the guest speaker at Town & Country Quilters in Levin.  

It was nice to be invited back because I was a guest speaker there back in 2015 when I was just starting my la Passacaglia.  


I took along ALL my Millefiori quilts, plus some of my bright Kaffe Fassett quilts.  


People were interested in the difference between English Paper Piecing and Hand Piecing.  You can read more about hand piecing here and find links to the videos I made.  


It's been very hot and humid across much of New Zealand this week.  Fortunately my garden is still looking good, so here's a few photos of my roses and vireya rhododendron. 


Now it's time for the Peacock Party.  Feel free to link up a recent blog post below.  


You are invited to the Inlinkz link party!

Click here to enter

Wednesday 9 February 2022

Starry Night tips and tricks

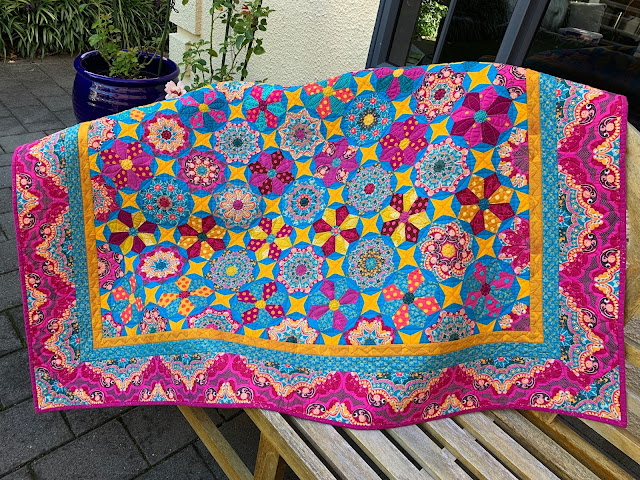
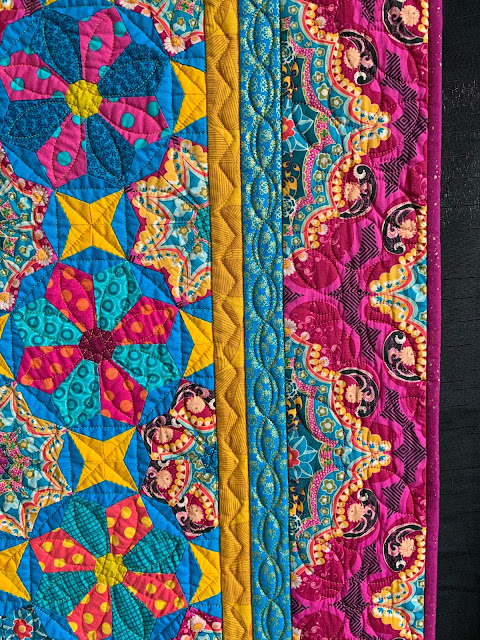
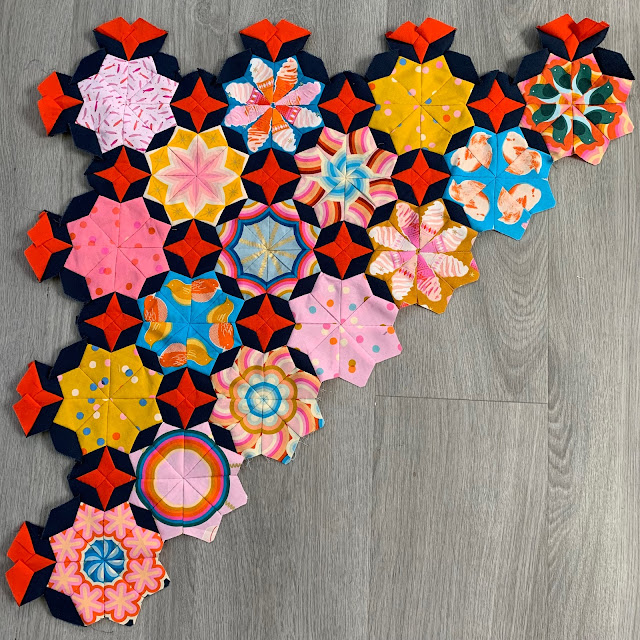
I've just finished making the Starry Night pattern from Kaffe Fassett's Quilts in an English Village and it was a bit tricky due to the Y seams, so I thought I'd record what I did.  


1. Always check www.kaffefassett.com/book-corrections/ for pattern corrections before you start.  There is a pattern correction for Starry Nights because Template A diagram is too long in the book. The short parallel side should measure 2 3/4" and the long parallel side should measure 8 3/4". So make that change in your book before you start.  

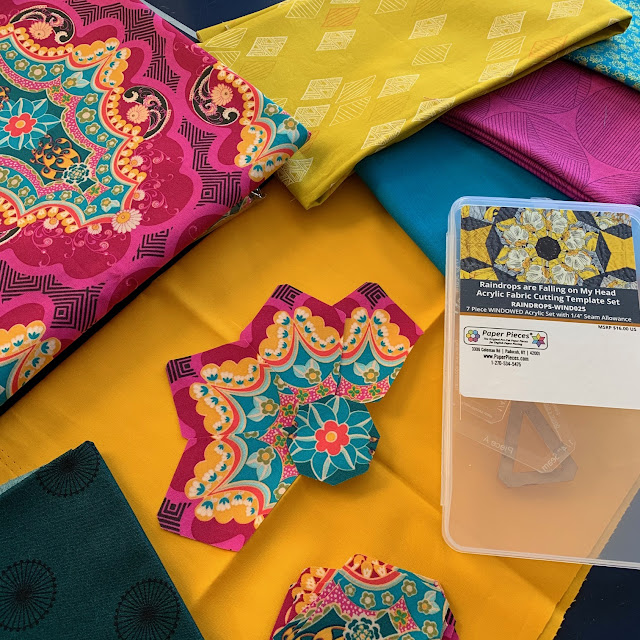
2.  I recommend making the templates either by photocopying the book (always check the measurements against your ruler because photocopiers can shrink images slightly), or from template plastic.  I don't use these templates for cutting, but I check my cut pieces against these templates for cutting accuracy.

3.  I make one test block first to check everything is correct before cutting lots of sashing pieces.  The test block sometimes the first block of my quilt, or sometimes I make it with scrap fabrics. It depends on how confident I'm feeling. 


4.  Precise cutting is very important for this quilt or the points on the stars will not meet accurately.  Check your cut pieces against the templates before your start piecing.

5. On the back of the A trapezoid pieces make a 1/4" mark with a pencil on the top and bottom of each outside edge.  This will allow you to accurately pin and sew the sashings.  Sew an accurate 1/4" seam with the A trapezoid pieces on top. Don't worry if you don't hit the pencil marks, you will have positioned the B diamonds correctly and your sashing should have straight edges. 


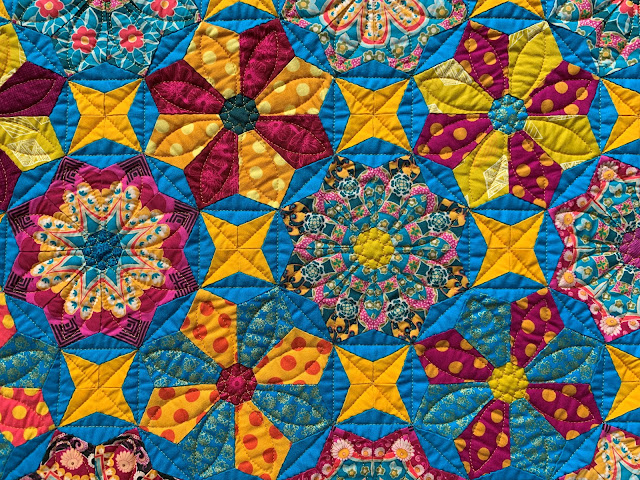
6. Once you have sewn B diamond pieces to both sides of A trapezoid pieces, gently press the sashing with one trapezoid colour seams always facing in, and the other colour always facing out. Green out for me, and purple in.  Then the seams throughout the whole quilt will go together nicely. 


7. It is very important to cut the sashing and plan this whole quilt before you start piecing. It's easy to accidentally mix up the layout during the piecing.  I carefully pieced once block at a time, and kept checking that it still fitted the layout.  Trust me, I had to unpick a few seams. 


8. Once you have all four sides of sashing pieced for a block, attach two opposite sides to the feature square. Fold the square in half and mark the half way mark with a pin. Fold the sashing in half, and mark the half way mark between the seams with a pin.  Place the feature square face down on top, and match the half way pins.  The sashing should be the same length as the block.  Pin out from the centre, and sew with the feature square on top. NOTE: start sewing 3/8" in from the top, and end 3/8" before the bottom.  Do a small backstitch at each end to hold the stitching. Do NOT press these seams.


9. Repeat the process with the other two side sashings, matching the half way points, starting and finishing 3/8" from the edges, and taking care not to catch the first two sashings in your seams.  Do NOT press the seams.  


10. Y seams.  Bring the opposite corners of the block together to form a triangle. The seams on the sashing should nest together nicely, and the outside edges of the B diamond pieces should match accurately.  Pin the pieces together, and sew out from the feature square to the edge of the block using 1/4" seam allowance, and using a small backstitch at the start of the seam if necessary. 


11. You may have a little gap at the start of the Y seam.  I hand sewed those gaps closed.

12. Now it's time to press the block carefully.  I pressed opposite sides in, and the other opposite sides out.  I pressed all diagonal corner seams anticlockwise.  This meant that my blocks joined together nicely.


13. I joined the blocks in to rows, again folding the block and marking the half way mark between the seams on the sashing with a pin. I made sure that the seams in the sashing were meeting nicely when I pinned the blocks. 


14. I pressed the joining seams in one row one way, and the joining seams in the next row the opposite way. 

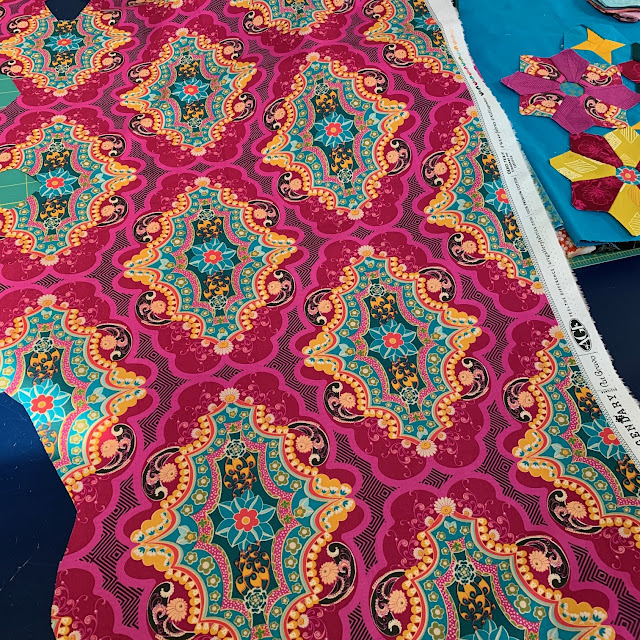
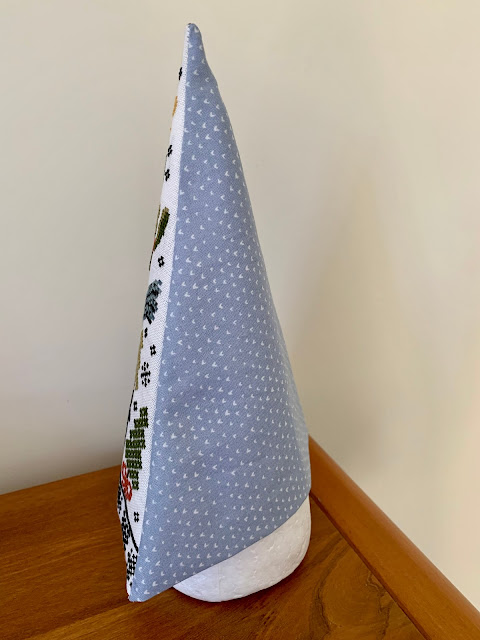
In case you're wondering - I used Tula Pink pastel solids for my sashings. 

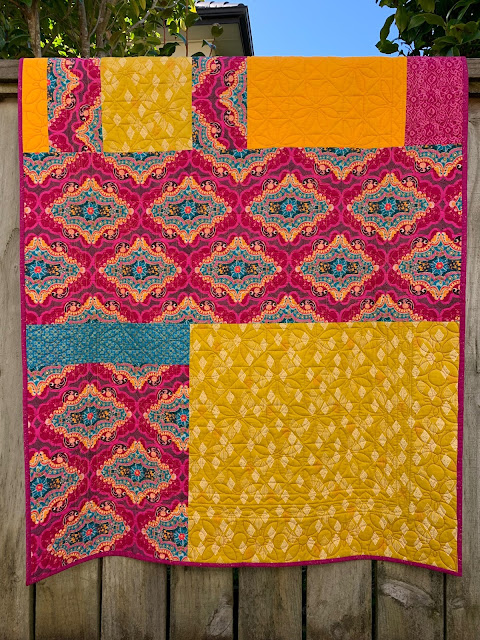
The full reveal is coming soon, but I do hope this helps other quilters because this is a great pattern. 


Friday 4 February 2022

Ruby Star

My Ruby Star quilt is coming along nicely.  I like hand piecing because it's very portable.  I keep a few of the joining star pieces in a little bag and I take them with me when I know I'm going to be sitting still for an hour or so.  


This pattern is Raindrops Keep Falling on my Head by Willyne Hammerstein from Millefiori Quilts 4.  I almost wish some raindrops were falling on my head right now - it's been so hot in Wellington and Auckland this summer.  


Here's one of my favourite blocks in this quilt - although I like all of them.  There are so many fussy cutting possibilities with the Ruby Star Society fabrics. 


I made some videos about Hand Piecing and you can find them here if you'd like to give it a go

I've got all my pieces made now, so I'm hoping to get another row added this weekend.


Now it's time for the Peacock Party.   Feel free to link up a recent blog post below. 


You are invited to the Inlinkz link party!

Click here to enter