Showing posts with label velvet ribbons. Show all posts

Friday, 17 June 2022

One Hour Basket with Renaissance Ribbons

As promised last week, I'm back to explain how I used my second Renaissance Ribbons velvet ribbon. 


I learnt from the bags I made last week, and decided to try a different way to get the most out of my black and red velvet ribbon from Stitch Witches.  

I pulled out my One Hour Basket pattern from many years ago, and made a few changes to it to ensure that I showed off my velvet ribbon to maximum effect.  (The One Hour Basket pattern used to be free, but now it's for sale on Etsy.)


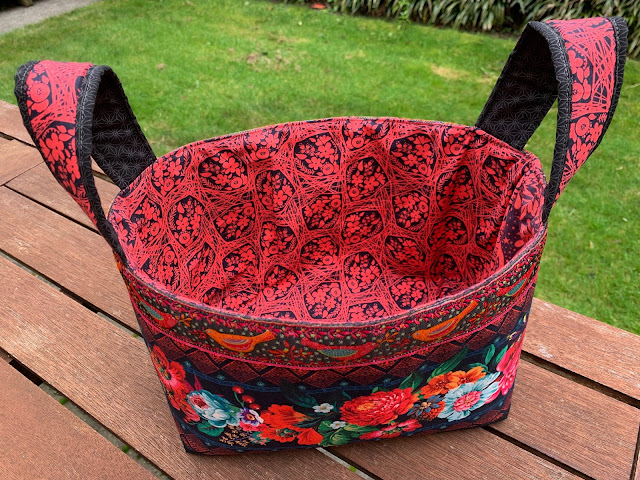
I cut my Soft and Stable slightly deeper than the original pattern because I knew I wanted to see ALL of the velvet ribbon on the side of the basket. I put a strip of black quilting cotton at the base of the Soft and Stable so my velvet ribbon wasn't on the base of the basket..  

I wanted the 1.5" bird ribbon to be at the top of my basket, but I needed to allow a seam allowance at the top, so I sewed another piece of quilting cotton to the top of the Soft and Stable.  

I used a 70 needle and monofilament when I attached the bird ribbon to the Soft and Stable.


So I mucked around for 3.5 hours making a one hour basket.  But good things take time, and I'm very happy with this basket.  I think it show the velvet ribbon beautifully, and I only had 7" of ribbon left over.  I might even find a use for that yet.  

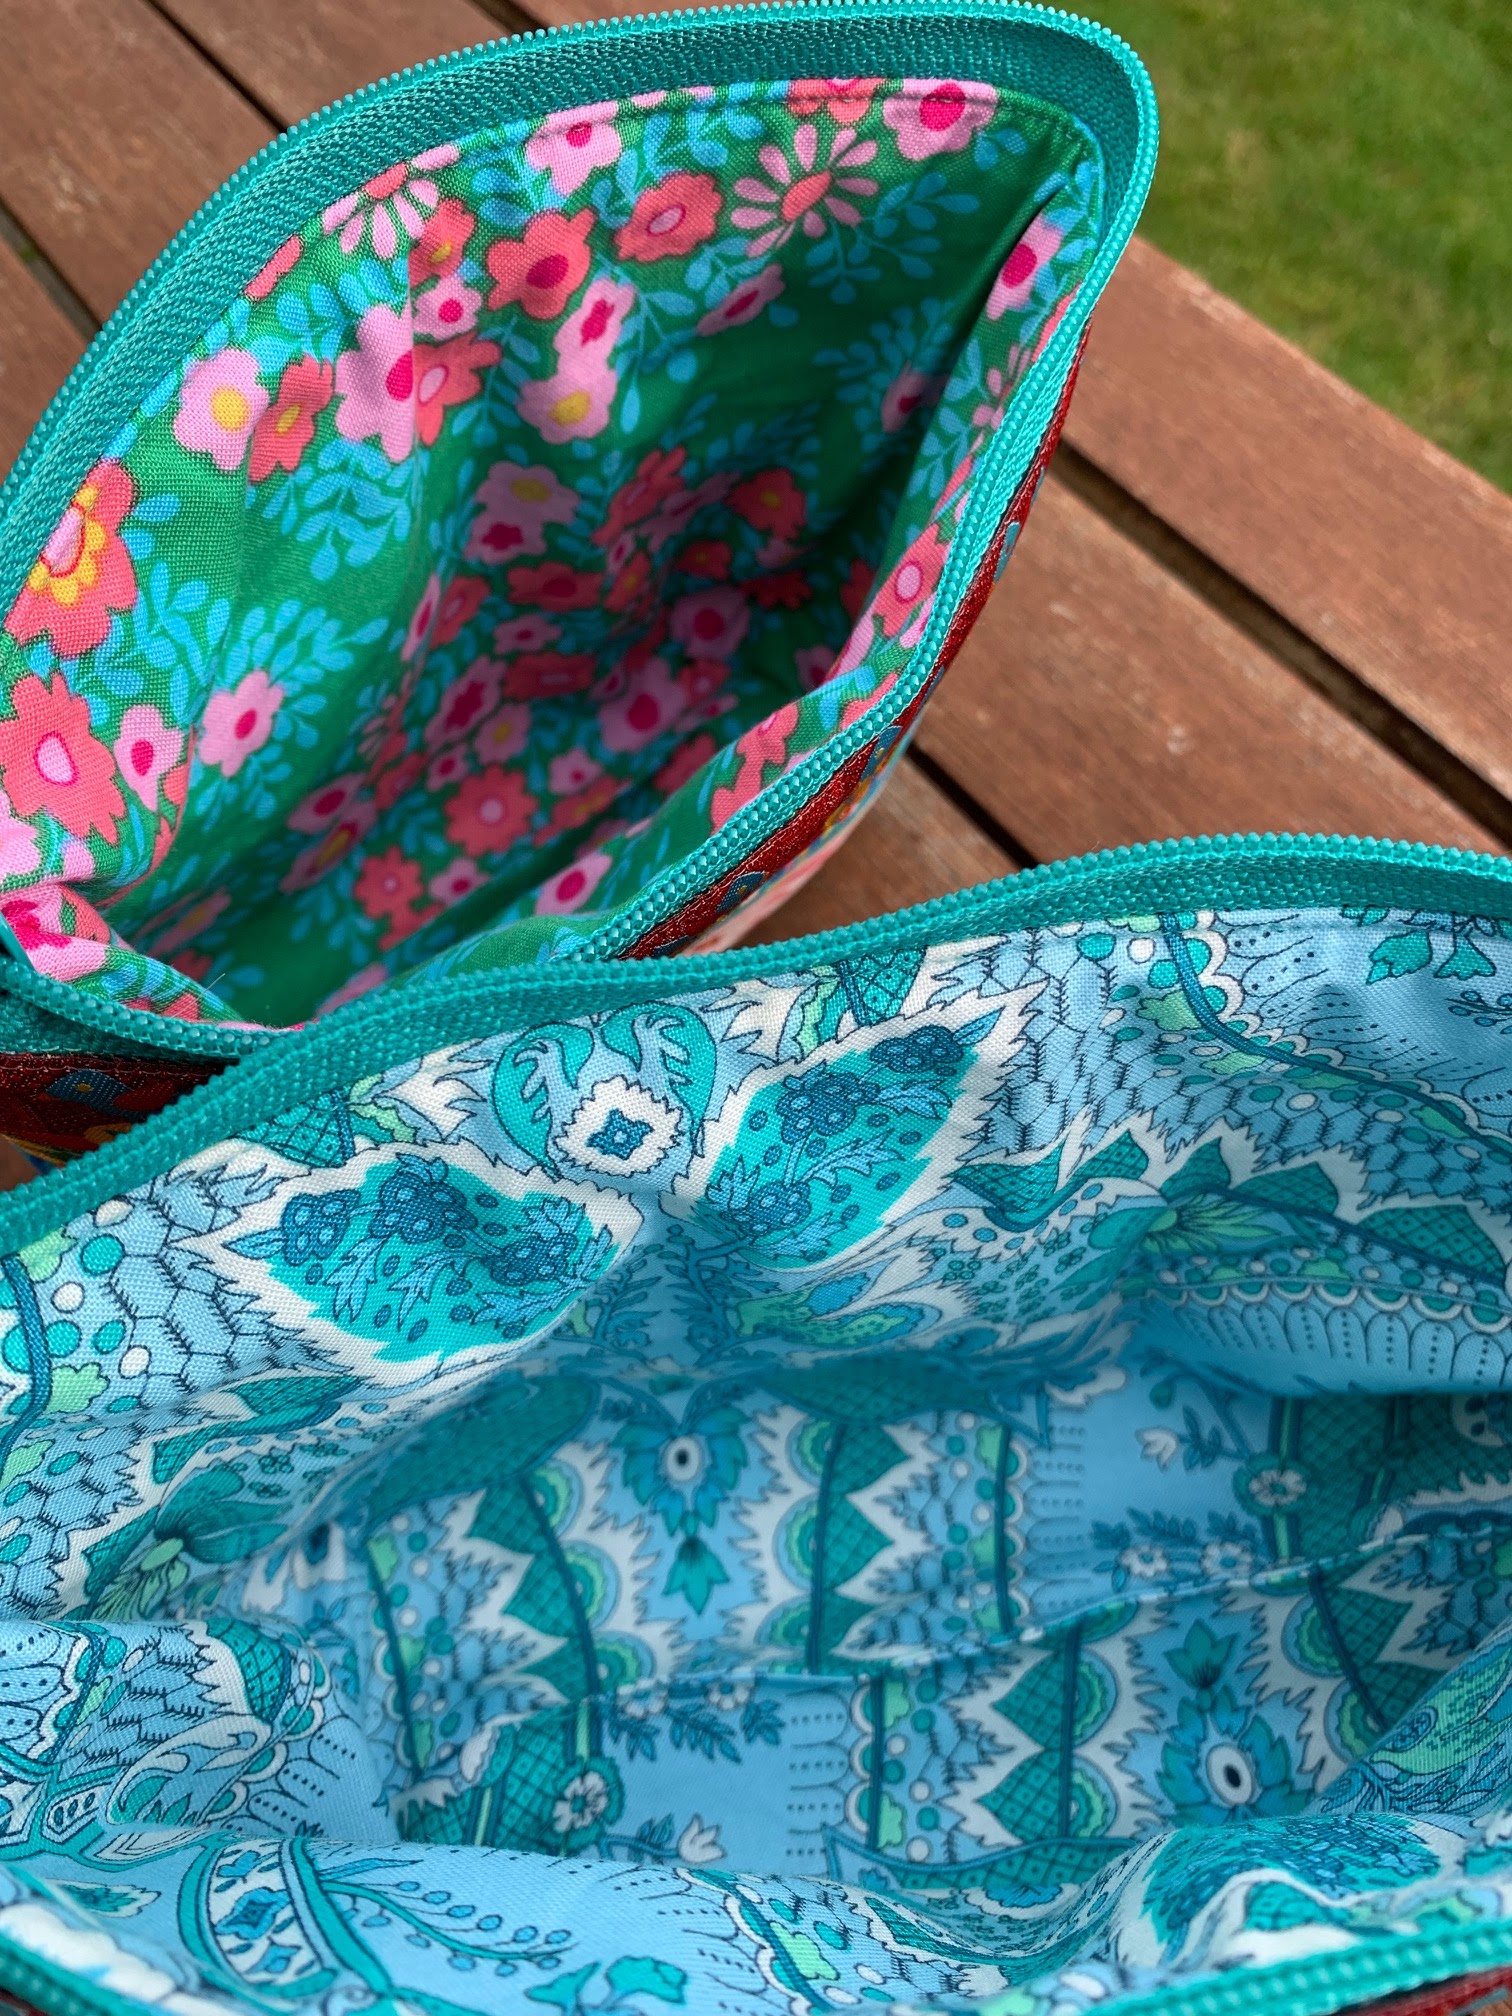
So here's my little family of bags made from Renaissance Ribbons velvet ribbons.  The bags from last week fit perfectly inside the One Hour Basket to demonstrate the relative sizes.  


Now it's time for the Peacock Party.  Feel free to link up a recent blog post below.


You are invited to the Inlinkz link party!

Click here to enter

Friday, 10 June 2022

Renaissance Ribbons Bags

I tried something new this week and made these cute bags with Renaissance Ribbons velvet ribbons.  The lower part of these bags is covered in velvet ribbons - the big flowers on the blue background.


I had seen photos of the velvet ribbons on social media, but when I saw them in person at Stitch Witches in Dunedin I was quite surprised at how luxurious they were.  They colours are very deep and rich, and of course the velvet feels beautiful to touch.  


I couldn't decide which ribbon to buy, so I bought two.  I decided to work with the blue one first, and made two pouches from the accompanying Renaissance Ribbons Bags ByAnnie pattern.  Annie has carefully worked out how to get two pouches out of the 1 metre length of velvet ribbon in each pack.  


I purchased the optional add on video from the ByAnnie website and it was very helpful.  I've made other ByAnnie bags without the videos, but I just couldn't face reading every step of the instructions six times and I thought that the video would make it easier.  It sure did! I just paused the video as I completed each step and happily sewed along with Annie.  


I'm pleased with my bags, but feel that the small one really is quite small.  It doesn't open all the way to the end because the zip end is tucked in. AND, I was disappointed to lose so much of the velvet ribbon across the base of the bigger bag.  I wish I had realised that was going to happen because I would have cut the Soft and Stable bigger, and put quilting fabric across the unseen bottom of the bag. 


So, I decided to change things up with my other ribbon and considered making two bags of equal size.  But then I had another bright idea.......

You'll have to wait until next week to find out about my other idea. 

Now it's time for the Peacock Party.  Feel free to link up a recent blog post below.  


You are invited to the Inlinkz link party!

Click here to enter