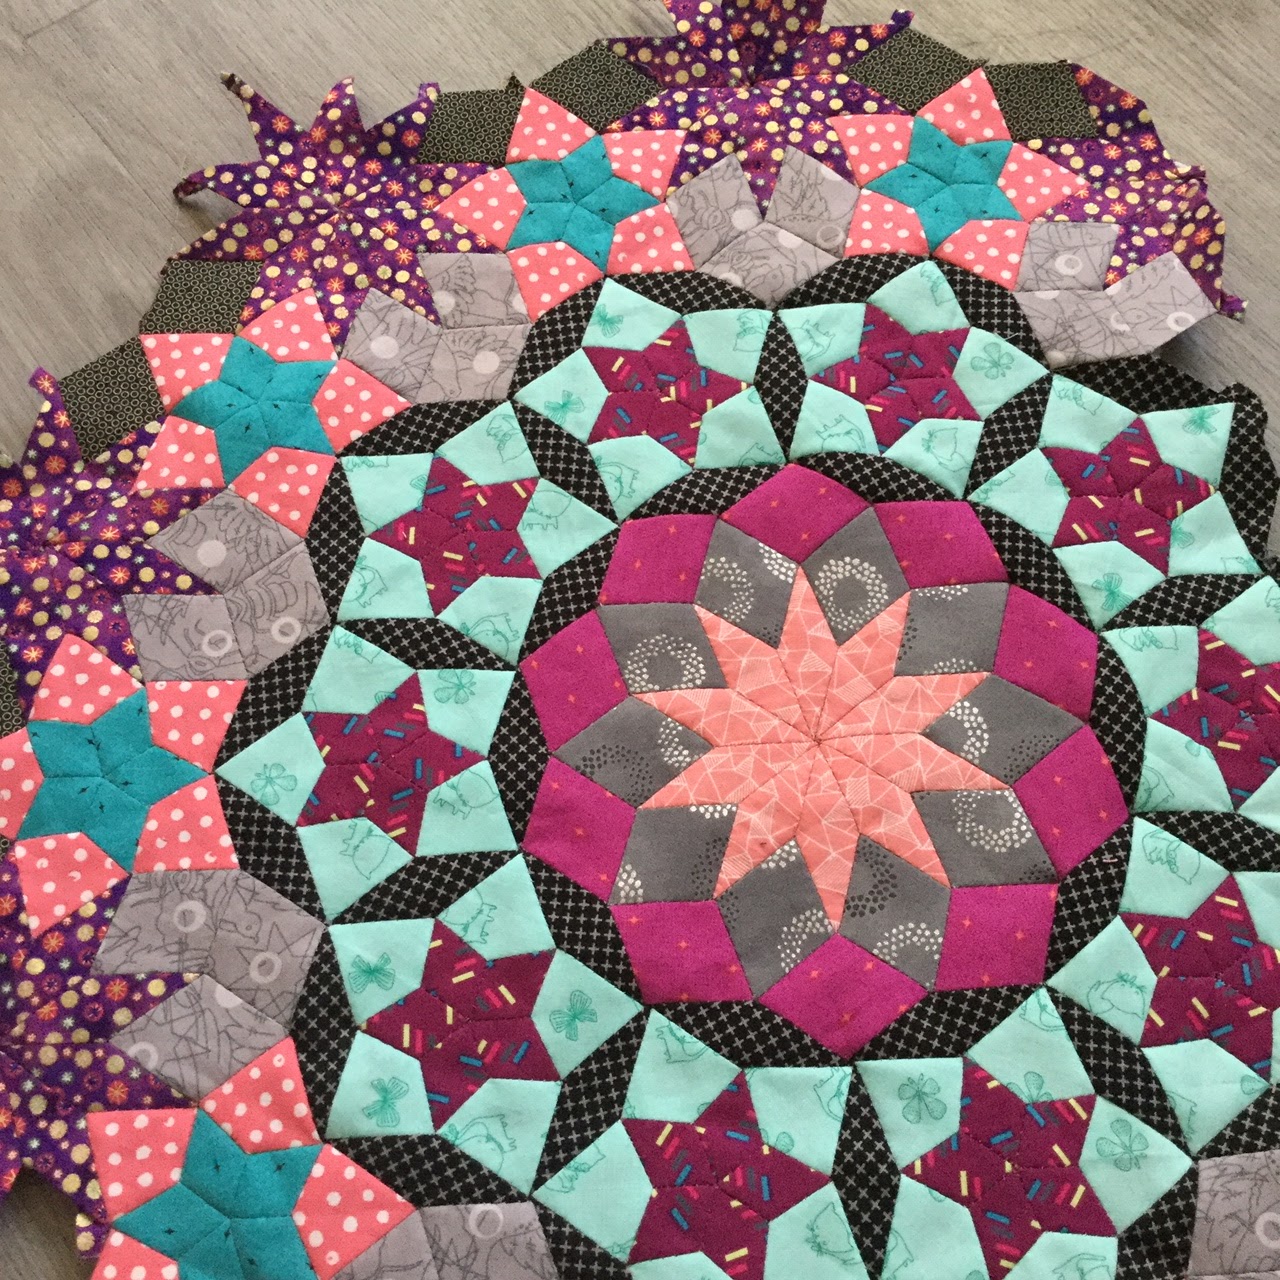
My quilt top is finished!! And I love it.
I always knew that I wanted to include my inspiration fabric somewhere in my Ballet with Kaffe quilt.
I had intended to use it for the borders, but then I realised that the pattern repeat was quite obvious, and the repeating motifs would stand out on the borders. So I decided to piece my borders and allowed snippets of my inspiration fabric to peek through.
I knew that Willyne Hammerstein had pieced the borders on her Moncarapacho quilt, so I followed her method set out in Millefiori Quilts book 3.
 |
| Moncarapacho by Willyne Hammerstein |
I used the same measurements as Willyne, but instead of making a crazy patchwork strip, I used my inspiration fabric.
1. Piecing the borders
I decided to foundation paper piece the borders for accuracy. I created a template on my computer and printed off lots of copies.
When I foundation paper piece like this, I sew multiple strips at once. I sew one piece on to each of many strips, and then I get up and press them all, and return to add another piece to all of the strips.
I kept making strips and joining them until I had enough to make the 4 borders.
I made sure that each border was the length of the edge, plus the width of the border times 2, plus a bit more for good measure. I did this because I knew that I wanted to mitre the corners.
 |
| Preparing to mitre the corners |
2. Attaching the borders
I know this bit is stressful. I spent more than two years English Paper Piecing my quilt top, and I didn't want it to unravel. When I attached the borders to my la passacaglia quilt (
click here to see) I left the paper pieces in the edge row, but this time I took them out first. I had learnt from my la passacaglia experience, and as I had sewn the edge pieces on my Ballet quilt, I had taken extra care to secure the threads so the seams wouldn't unravel.
I took the final paper pieces out of the edge pieces of my quilt, and pressed all the seam allowances open. (As for the rest of the quilt, I just pressed from the front - it's impossible to get all of these seam allowances sitting neatly.)
Then I lay my quilt top
on top of the border.
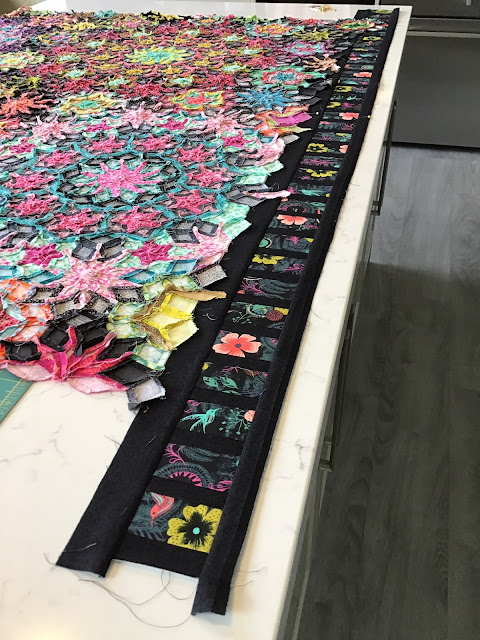 |
| ready to bring the quilt top over the border |
Based on the diagrams in the book, I knew which pieces would align with the border's edge, so I pinned those pieces into place first. Then I added more pins so it wouldn't move during sewing. I used a lot of pins!
I sewed the border on with the border facing me so I could stitch an even 1/4" seam. I didn't worry about which way the seam allowances were sitting underneath.
I checked on the front that the seam was straight and where I wanted it to be. I only trimmed away the excess quilt top once I had stitched the border on and checked the seam position. Trimming was the final step of stage 2 - Attaching the Borders.
3. Mitring the corners
It's been a long time since I've mitred corners, but it's definitely easier the second time around. There are plenty of tutorials about mitring corners, but I'll just show a few photos of what I did. If you haven't done it before, I suggest you consult a full tutorial before you try this.
 |
| I folded the quilt right sides together so the borders lay on top of each other |
 |
I lay the ruler along the folded edge of the quilt (bottom left in photo),
with the 45 degree line on the edge of the border. (where my pen is).
Then I drew a stitching line across the bottom of the ruler. |
 |
| The stitching line pinned and ready to sew. |
I sewed along the marked line.
 |
| After I'd sewn the seam and checked it from the front, I trimmed off the excess borders 1/4" from the seam. |
Look at that!!! It's perfect. I know that the windows don't match up, but that was very unlikely given the design of the borders. I don't mind because the borders are very dark and it won't be very obvious.
Then I hand stitched the corners closed where the machine stitching finished before the corners.
 |
| Hand stitching the corners closed. |
Finally I took the foundation paper pieces out. I left them in all this time to stabilise the borders and prevent stretching.
So there you have it.
I know it sounds like a lot of effort, but I love the result so it's totally worth it to me. I do intend to hand quilt my Ballet with Kaffe quilt, but I'm going to take a little break and work on some other things first.
You can find my other posts about my Millefiori Quilts on the tabs at the top of my blog:
la Passacaglia
Ballet with Kaffe