
This is Part B of a series of posts explaining how I make my version of Stars Upon Stars.
B. Planning the colours
1. External stars in the blocks.
A key design feature of the original Stars Upon Stars quilt is that each block is unique. I decided replicate that idea by using different fabrics and colours for the external stars of each block. I opted for tone on tone fabrics in most cases, and tried to use every colour within my limited colour range - blue, aqua, green, pink, orange and yellow. If I repeated a colour I used a different fabric which was always slightly darker or lighter than the previous block.
Sometimes I made the external stars before I had even selected the fabrics for the main stars.
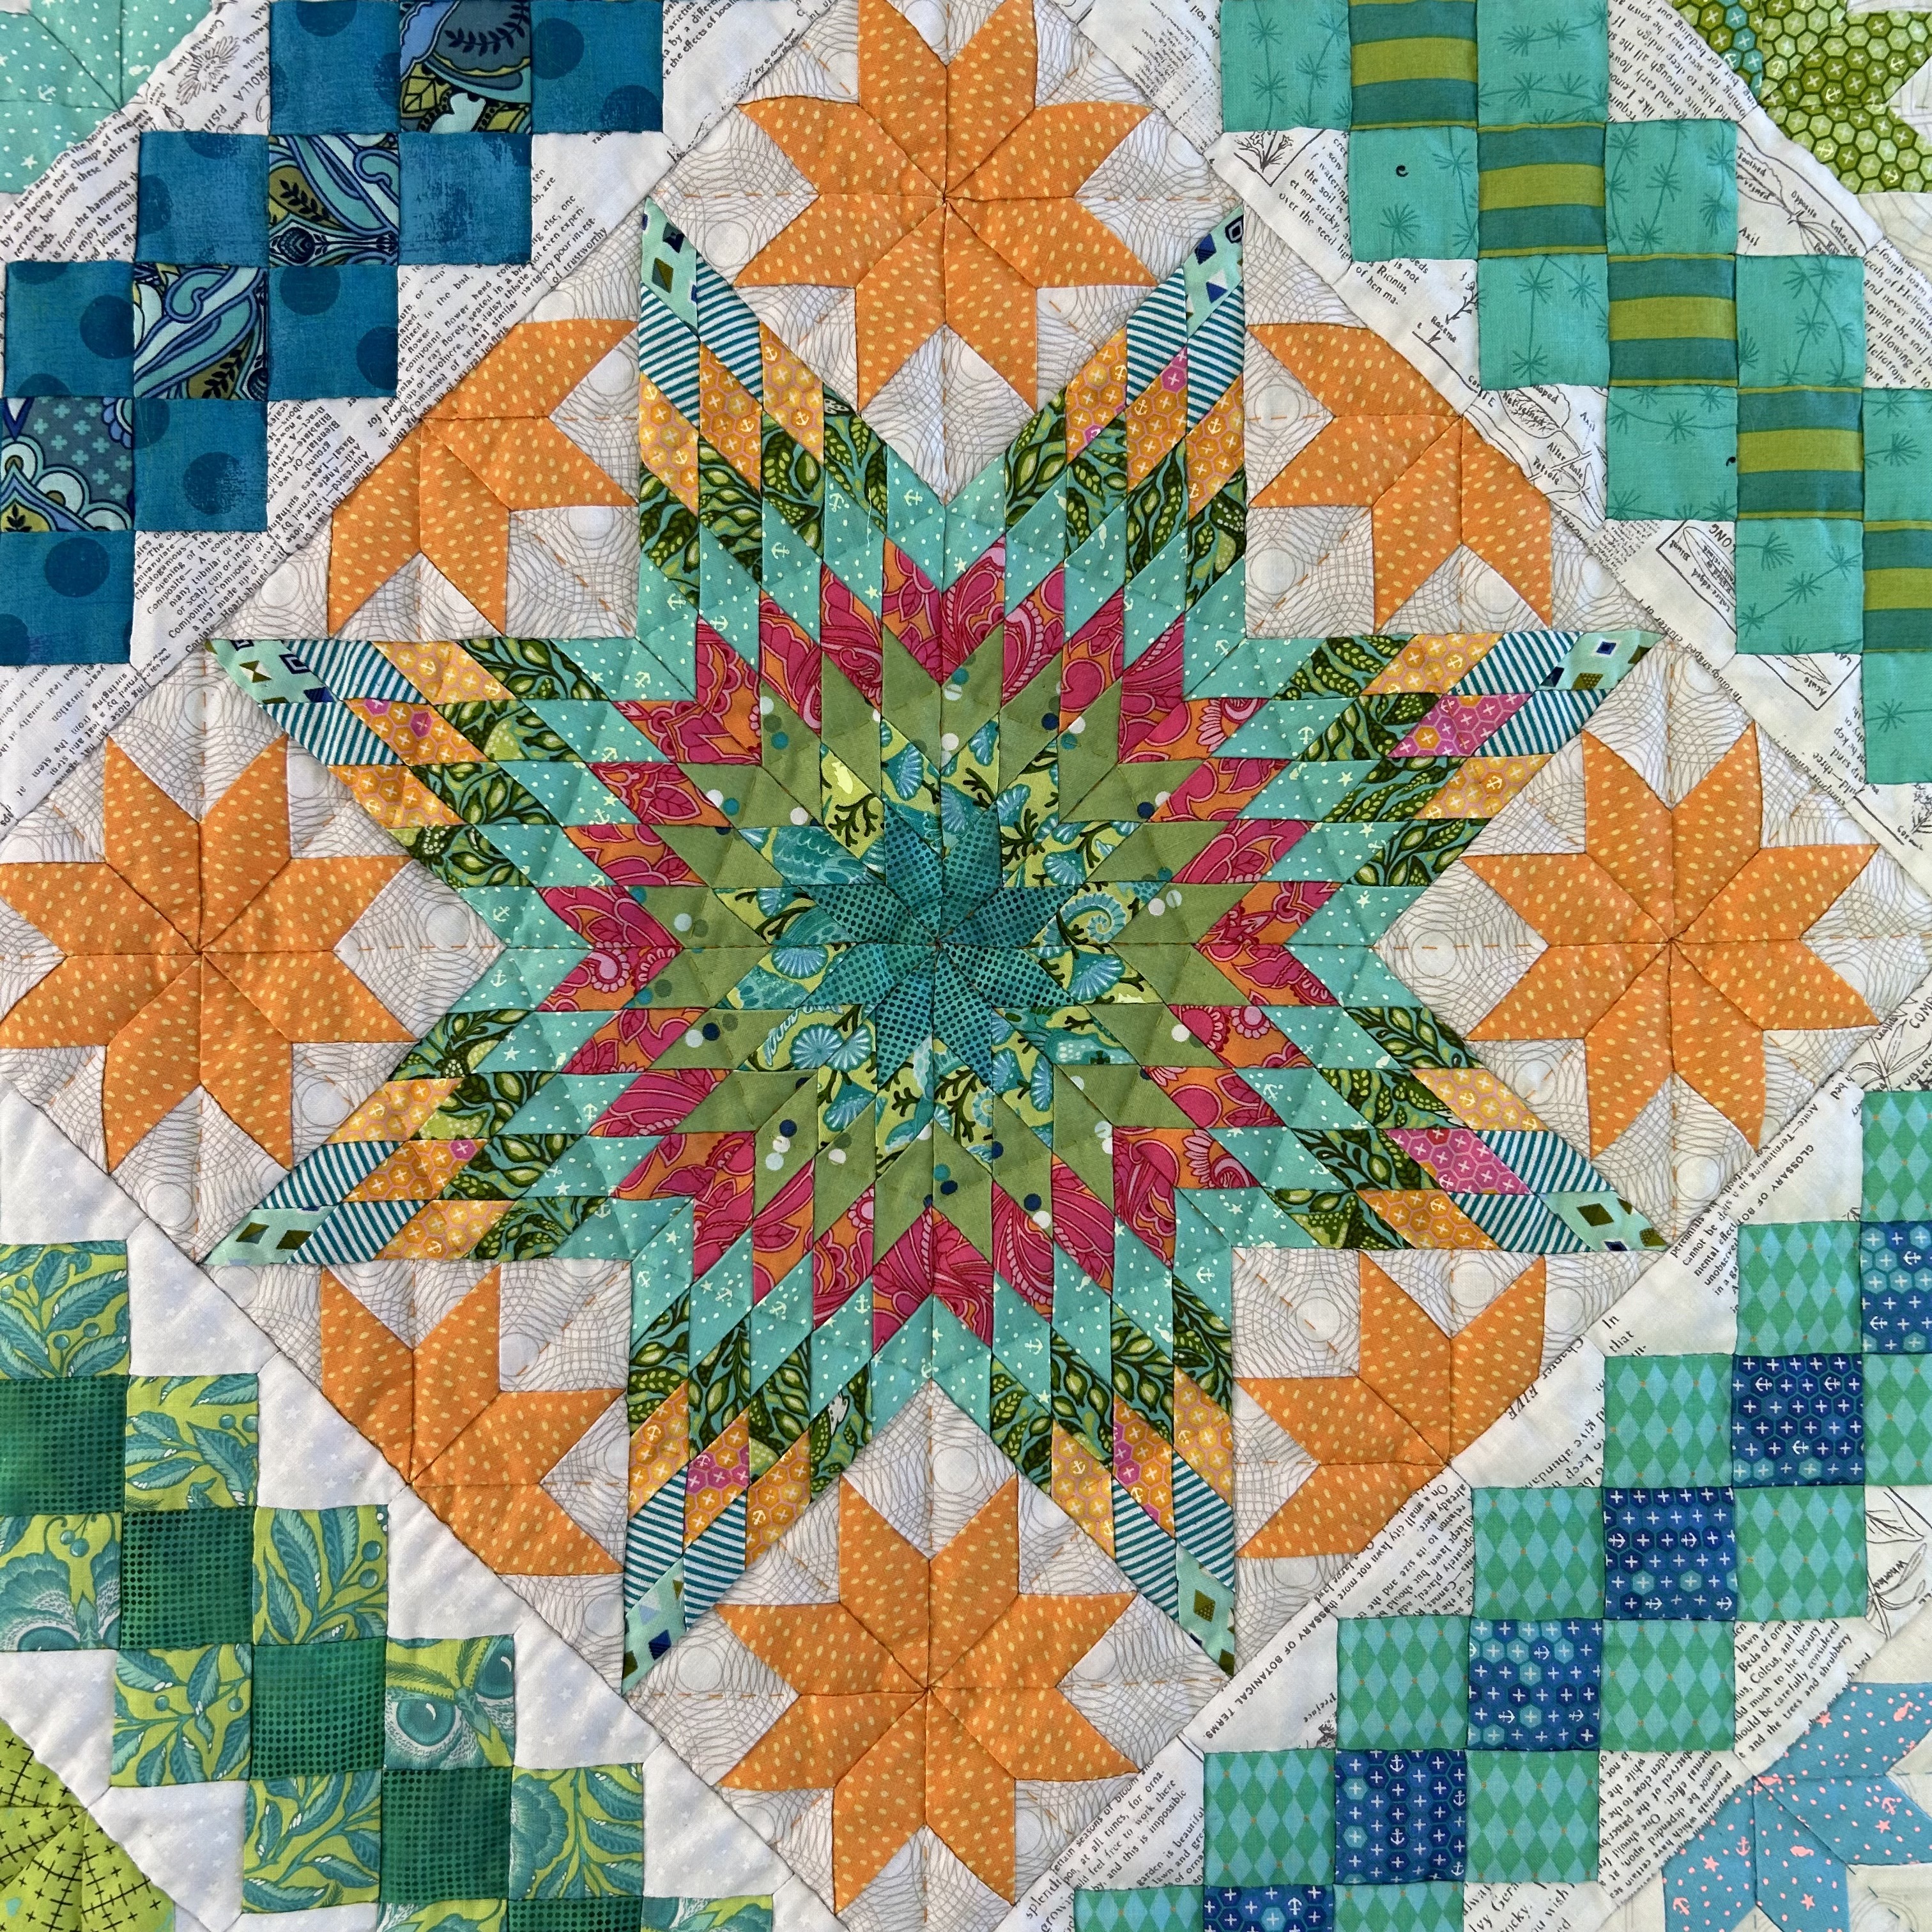


2. Sashing strips.
I decided to limit my sashing strips to blues and aquas. I wanted variety in my sashings, but I didn't want them to be the first thing people saw when they looked at my quilt. They needed to blend into the background and quietly emphasise the tropical lagoon look of my quilt.

3. Sashing stars.
I knew that I wanted my sashing stars to all to be the same colour, but I couldn't decide whether to make them green or navy. I made up some green stars before I settled on navy. I like the navy because it makes the sashing stars the darkest element in the quilt, and they are very crisp against the white background.

 |
| The lime green in row 3 is the most dominant here, closely followed by the hot pink in row 4. |
 |
| The dusky pink in row 4 is the most dominant here. |
 |
| The lime green in row 3 and green stripe in row 6 are dominant in this block. |
 |
| The diamonds are reversable and can change the whole look of a block. |


7. Binding
My final fabric decision was the binding. I knew I wanted it to just merge into the quilt and not stand out. I considered using one of the aqua prints already in the quilt, but I had to be sure that none of the blocks touching the binding and that fabric in them.
In the end I used something similar, but not already in my quilt - Tula Pink's True Colors Tiny Dot in Peacock. How appropriate for me!!

