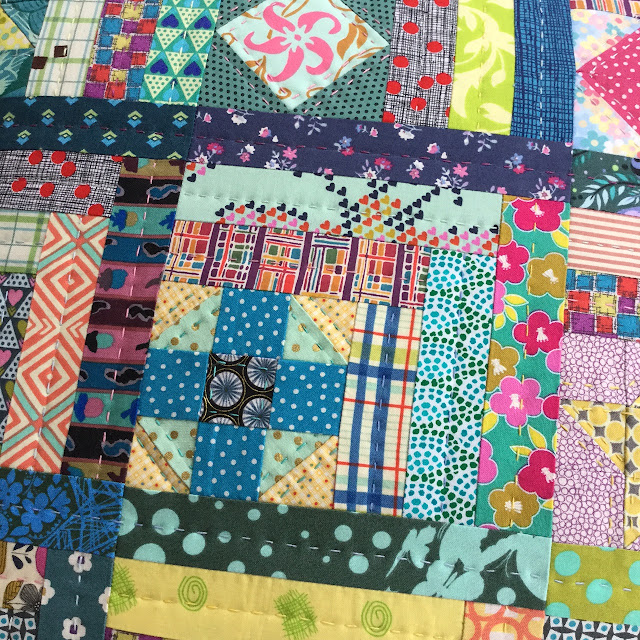
Tuesday, 30 August 2016

How to attach borders to English Paper Piecing

A number of people have asked me how I attach borders to my English Paper Piecing.  I did write a blog post here when I attached the borders to my la passacaglia quilt, but I also took some photos as I finished up my Tumbling Colors and Inner City quilts, so will explain again here.


Here's what I did:

1. I decided where I wanted my borders to sit on my quilts.  Often there's two opposite easy edges with straight lines, and the other two edges are a bit trickier. I'll deal with the easy sides first.

the side of this quilt are straight, but the top and bottom aren't

2. I removed the paper pieces from the edge pieces and pressed the seam allowances out so they sat flat.


3. I laid the 1/4" mark on the ruler on the exact point where I wanted the border to meet the centre of the quilt.  I then trimmed with the rotary cutter so I had a 1/4" seam allowance to sew with. I had pieced with 3/8" seam allowance so there was a bit to trim off.


note that the 1/4" line is on the point where the paper pieces meet - see 9 3/4" on the ruler.

4.  I cut my border strips in the usual manner (measure across the centre of the quilt and cut to that length), pinned carefully, and sewed on the machine with the 1/4" foot.


5.  I pressed the seam towards the border and admired the beautiful points!


6. Now for the top and bottom of this quilt.  Once again I had to decide where I wanted the border to sit.  I laid the 1/4" mark on the ruler where I wanted the border to meet the centre. I had to cut off more on the top and bottom, just because of the way this design is. Think of it like a brick wall.  The top and bottom may be complete rows, but there will always be half bricks to on the sides.

see the 9" mark is sitting right on a point.

again - nice tidy points at the top

7. Different designs will need to be treated differently.  Here's how I trimmed my Tumbling Colors quilt.  I knew I was going to trim the top row, so only pieced half diamonds to avoid wastage.


I retained the points down the right hand side


8.  The back of the quilt is still very messy, but that's what happens with English Paper Piecing (EPP).  I did use my applique scissors to very carefully trim some of the excess points, but then I just turned it over and pressed it flat from the front.  I really don't worry about the seams sitting flat on EPP.


I hope you find that useful. I'm currently hand quilting both of these quilts with bright threads and big stitch hand quilting.  I'll show you once they are finished.

Sunday, 21 August 2016

Kaffe Fassett class in Wellington - my quilt top is finished

Many months ago (back in January 2016) I went to a class with Kaffe Fassett and Brandon Mably in my home city, Wellington, New Zealand. We cut out fabrics to make Mediterranean Hexagons from the Quilts in Morocco book.


The quilt in the book is calming and blue like the Mediterranean.  Mine clearly isn't, so I'm calling mine Tropical Hexagons. It reminds me of the hibiscus flowers in the tropics.

I had a great day at the course and learnt so much from both of them.  You can read all about the day here, and see the fabric combinations other people used.

auditioning fabrics with help from my friend Sue on the left, and Brandon on the right

After the course I put my quilt away for a few months, but in June I started to sew the hexagons together.  You can see lots of close ups of the fabrics I'm using in my June blog post here.


This weekend I decided to finish piecing the top while I watched the final weekend of the Olympics from Rio.


I chose Jumble in turquoise by Brandon Mably for the skinny border - as recommended by Brandon at the course.  I did consider other options, but felt this one really was a good contrast.


I then chose Leopard Lotus in Ochre by Philip Jacobs for the wider border.  It has some brown in it, but not quite as much as the original fabric recommended by Brandon in the photo above. You know I don't do brown!


I'm really happy with all of my fabric choices in this quilt.  I started out with the beautiful blue carnations on black - Anne Marie by Philip Jacobs in black.  It really is my feature fabric in this quilt, and all of the other fabrics were chosen to complement that fabric.


So the top is finished and it's 80" x 85".  I'm going to get it basted on a long arm, and intend to hand quilt it myself.  I'm not sure what type of design I'll use it, but I'll enjoy rediscovering all the fabrics along the way.

If you get the opportunity to go to a class with Kaffe and Brandon I'd highly recommend it.  They challenge you to think about new colour combinations, and teach you how to analyse every fabric decision. I would certainly go again if they come back to New Zealand.


Sunday, 14 August 2016

Wheel of Fortune pillow - designed by Jen Kingwell

Following straight on from my Small Wonders pillow finish last week, I've now just finished my Wheel of Fortune pillow.


The design is 22" square, so I decided to turn it into a mini quilt rather than make another large pillow.  I put a hanging sleeve on, so it can be hung on the wall like this:


or used as a table mat, like this:


I know you're always interested in how I approach things, so here's what I did:

1. I foundation paper pieced the coloured curved sections on my machine, as per the pattern in Quilt Lovely.


2. I hand pieced the coloured sections onto the grey background - only because I trusted my hand stitching more than my machine piecing when it comes to curves.

3. I then joined up the 16 square blocks as per the pattern.


4. I marked my quilting lines with chalk pencil and dinner plates, and hand quilted with Aurifil 12 wt and big stitches.

5. I applied the stripy binding and hanging sleeve.

The background fabric is Heath by Alexander Henry in black, although I'd personally call it grey.

I love this mini. and look forward to making even more things from Jen Kingwell's Quilt Lovely book.


Friday, 5 August 2016

Small Wonders pillow - designed by Jen Kingwell

This week I finished a pillow (cushion) from Jen Kingwell's book, Quilt Lovely.


the photo in the book

I started this pillow months ago, but then put it aside while I worked on other things.  I've decided that August is the month for finishing WIPs, so I pulled it out on Friday and finished it on Sunday.  The centres of each block are quite fiddly, so I used my foundation paper piecing templates from Jen's My Small World quilt.  I just printed off some more copies and used those to get the centres straight and accurate.

the back - Anna Maria Horner

Jen Kingwell has a particular style, and some of you will know immediately that this is her style.  She likes to use lots of little pieces of fabric, and loves the scrappy effect from using a wide range of fabrics.  Then Jen likes to finish her quilts by hand quilting with thick thread in contrasting colours. I tried out some new 12 wt Valdani threads and enjoyed using them.


I was fortunate enough to visit Jen Kingwell's store Amitie Textiles in Melbourne last year.  I loved looking at all the quilts on display.  There were so many fabrics it was a bit overwhelming, so I just spent my time looking at the finished items and studying how they were made.

Now I want to finish another pillow from the book - Wheel of Fortune.  I might just make it into a mini quilt because the Small Wonders pillow is already 22" across, and the Wheel of Fortune one is even bigger.  I don't actually need huge pillows in my house, but they are lovely.